Polkadot Pineapple Lesson Plan
What You’ll Need
- Washable yellow paint
- Construction paper
- 1″ diameter circular sponge paint brushes and/or yellow dot markers
- Scissors
- Glue sticks
Project Prep
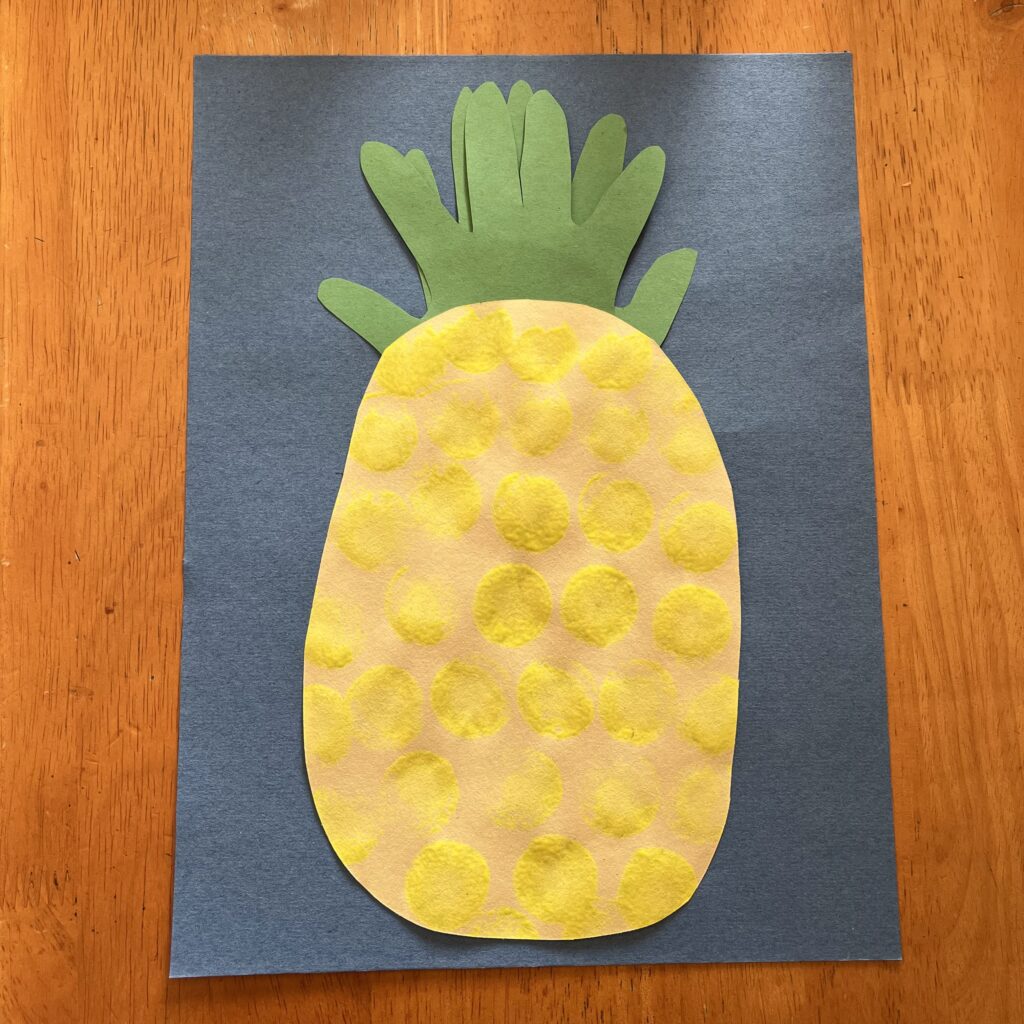
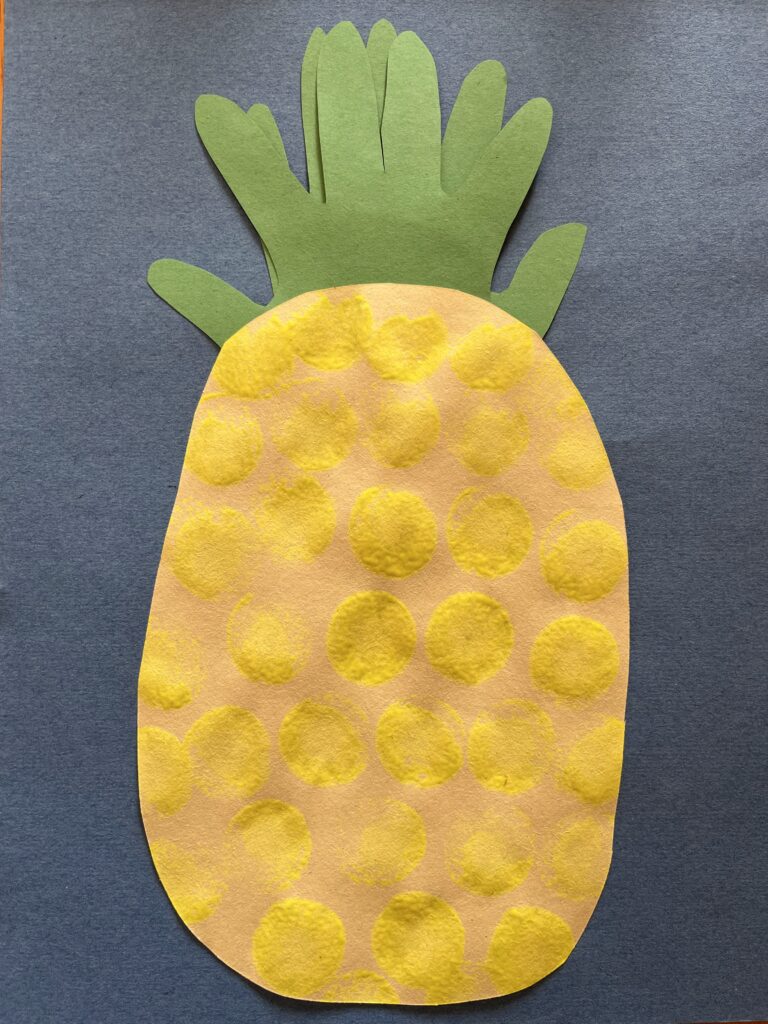
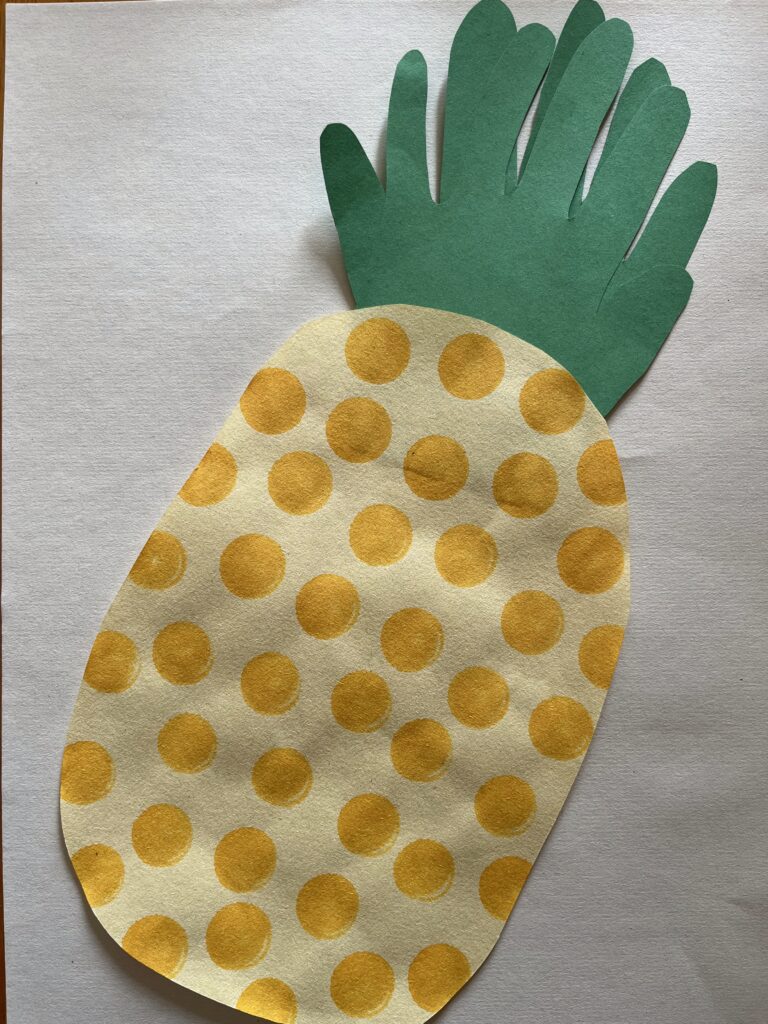
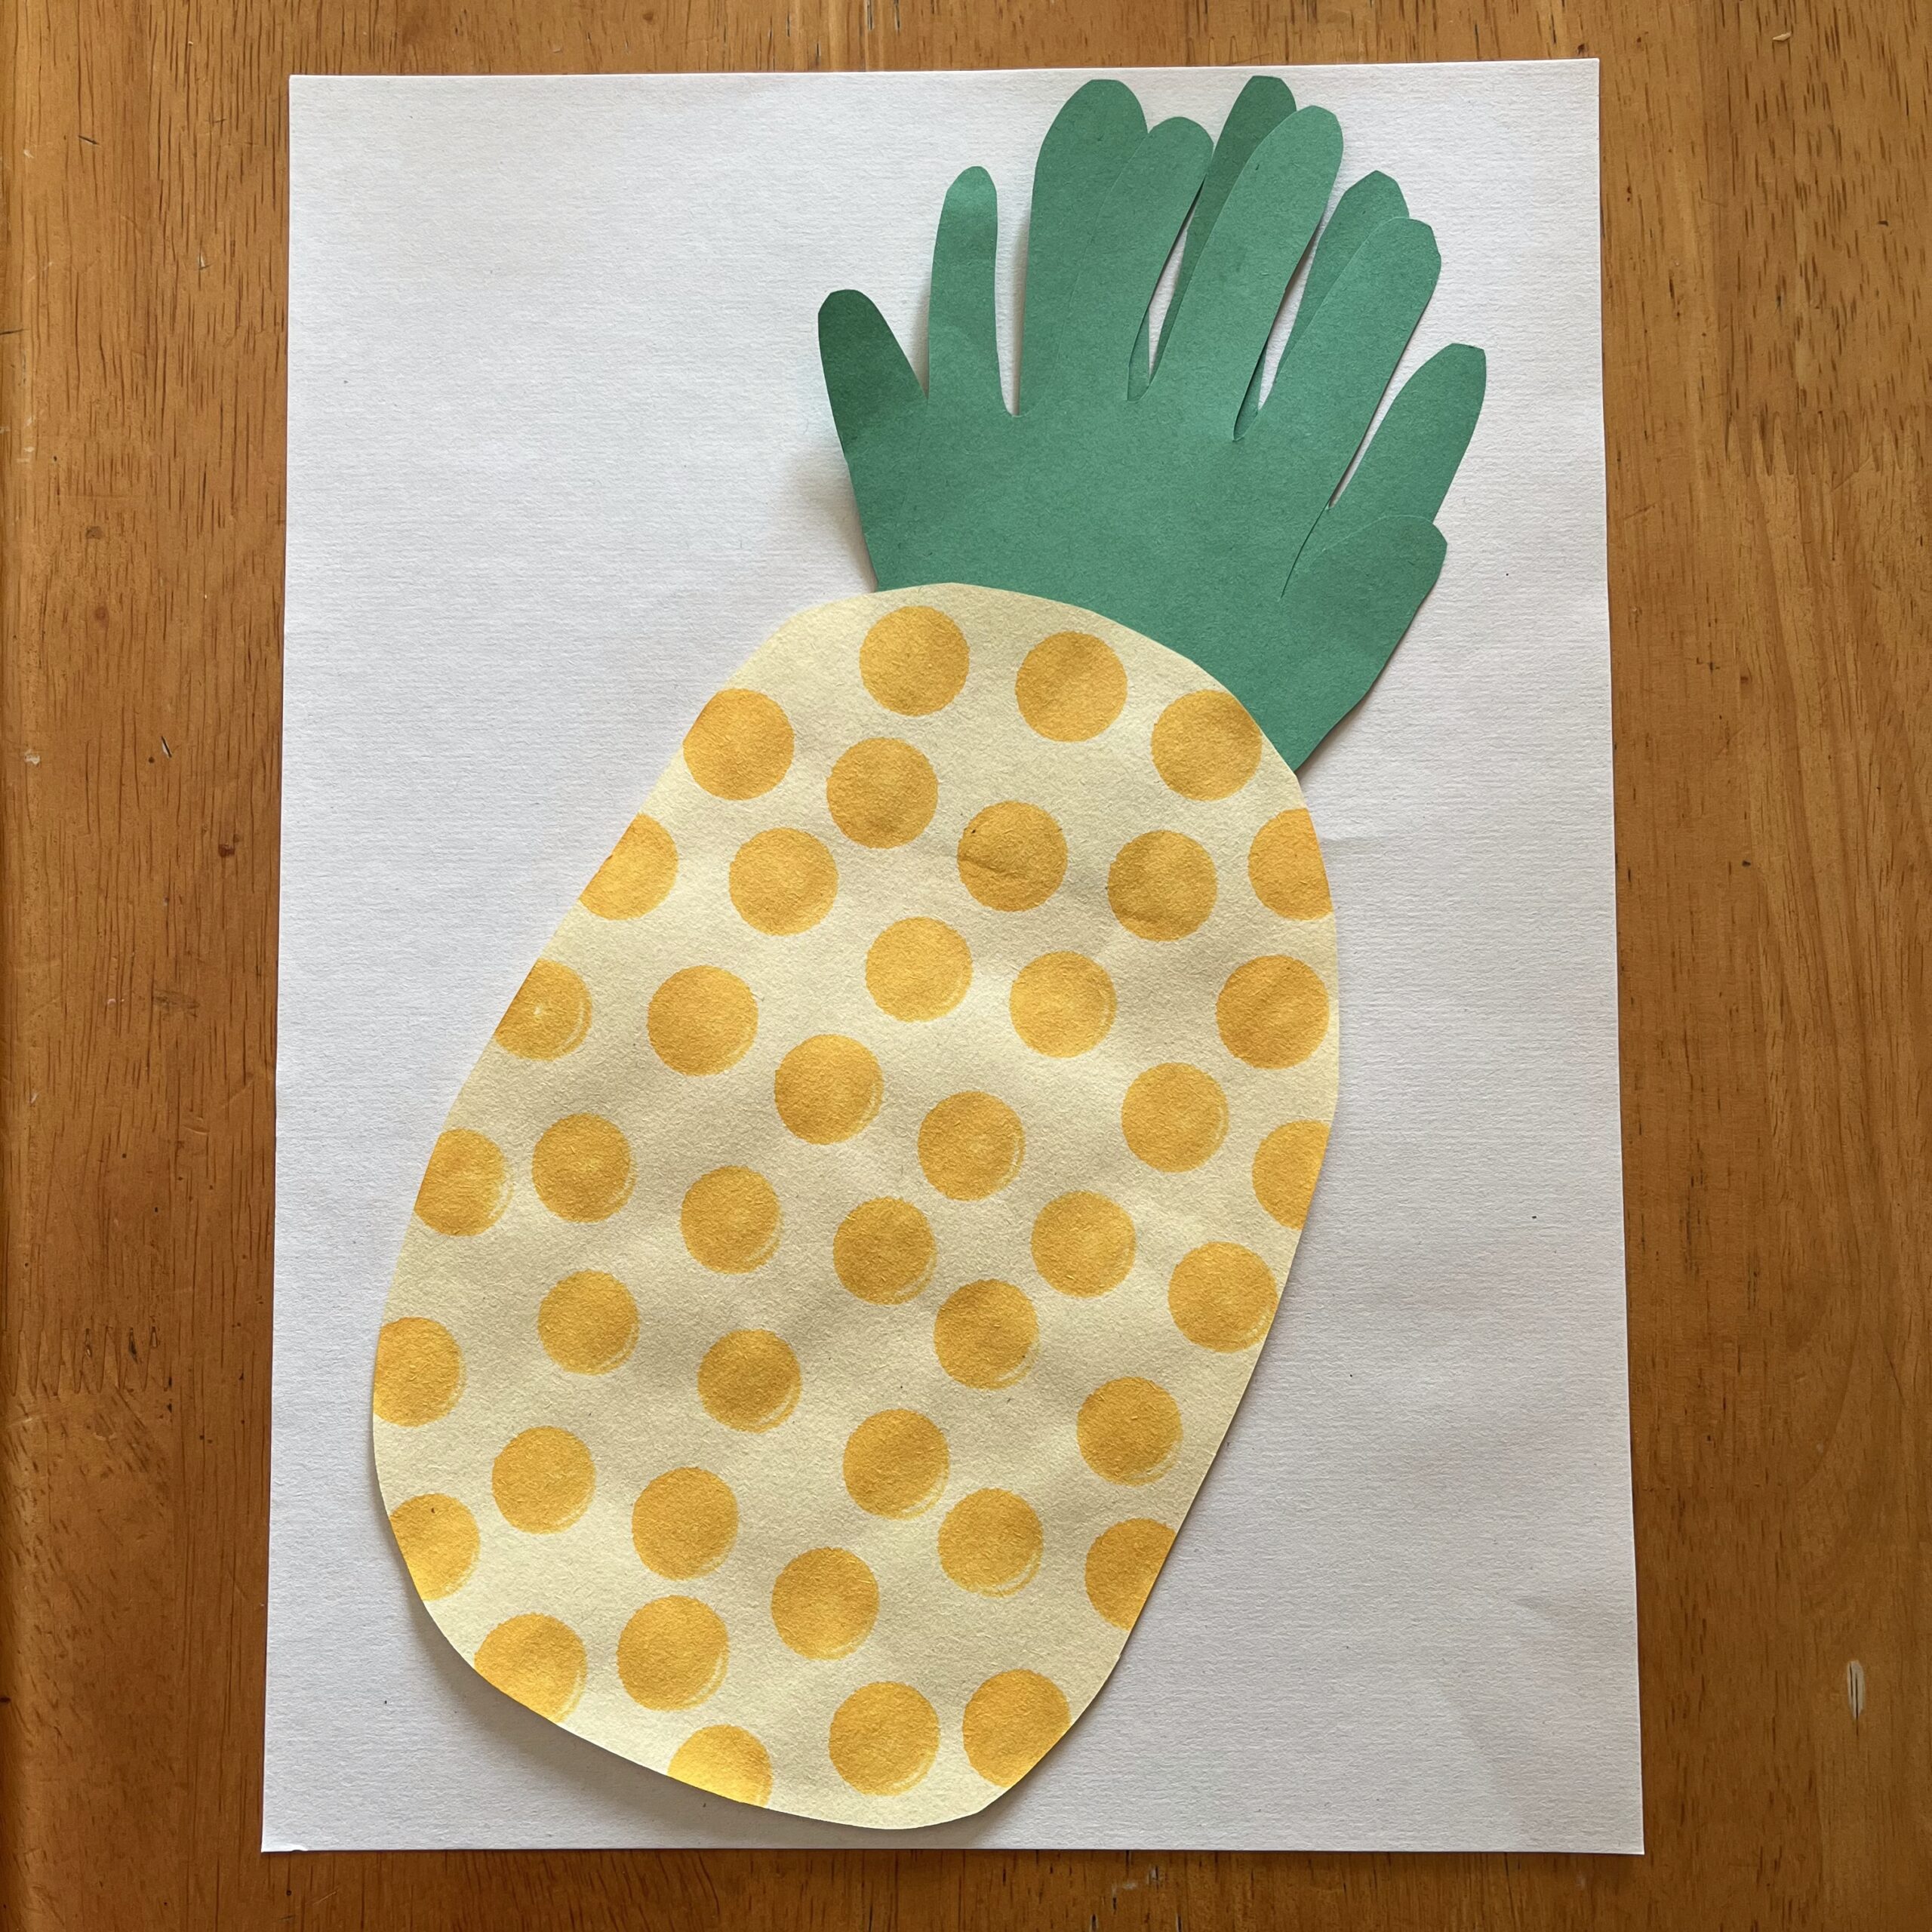
Ahead of time, cut out the pineapple shapes from yellow construction paper. You’ll want ovals about 7 inches long and 5 inches wide, but they don’t have to be exact. Each child will need one yellow oval.
Polkadot Pineapple Project Instructions
Step One:
Prep:
- Show the students an example of the finished polkadot pineapple project so they understand what their goal is.
- Hand out green construction paper.
Hands-on:
- Trace each child’s hands onto green construction paper. Each child will need to trace their non-dominant hand on the paper, and then work with a partner to trace their dominant hand.
- Note: if you are completing this project with younger children, you may need to work 1:1 with them to trace their hands.
- After hands have been traced, cut out the handprints. (Again, for very young kids, you’ll have to complete this step for them. Kids in K-Grade 2 will be able to practice their scissor skills as they cut out their traced hands.)
Step Two:
Prep:
- Once the handprints have been traced and cut out, it’s time to make the pineapple! Hand out the yellow ovals and yellow dot markers and/or yellow paint with circular sponge brushes.
Hands-on:
- Students will make dots all over their yellow oval to create the textured surface of a pineapple.
- Dots made with dot markers should dry quickly. Painted dots may need some drying time before moving on to finishing the project.
Finishing the Project:
- Once the kids are happy with their dot designs and the pineapples have dried, attach the handprints to the top of the pineapples, as shown. Overlap the hands to create the look of the “crown” of leaves at the top of the pineapple.
- Finally, attach the finished pineapple to a piece of paper. Students can choose whichever background color they’d like.
- Once their polkadot pineapples are complete, students should sign the front of their project at least 1” away from the edge of the paper. (For young kids, you may need to add their names.)
Age Group
Grades PreK – 2
Time
20-30 minutes total
Materials
- Washable yellow paint
- Construction paper
- Circular sponge paint brushes and/or yellow dot markers
- Scissors
- Glue sticks
- Paper plates