Apple Stamping Lesson Plan
What You’ll Need
- White paper provided by Original Works (or another high-quality, 70# 8 ½” x 11” art paper)
- Washable red and green paint
- Markers
- Paint brushes
- Apples, cut in half from top to bottom
Project Prep
To prepare for this project, you’ll need several apples. Cut them in half from top to bottom, so that a cross-section of the interior of the apple is exposed. These will be your apple stamps!
It’s also a good idea to prepare an example of this project before you attempt it with students, so the kids can see what the end result is and gain a better understanding of what they’re working towards as they’re creating.
Apple Stamping Project Instructions
This project will be completed in two quick and easy steps:
Step One:
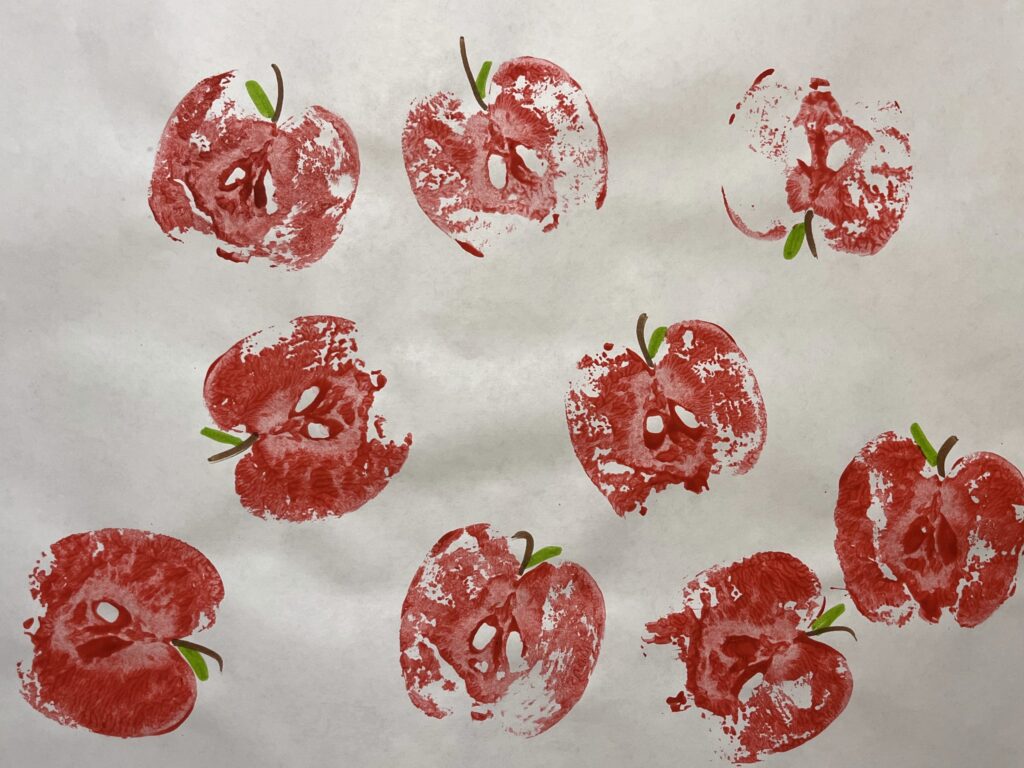
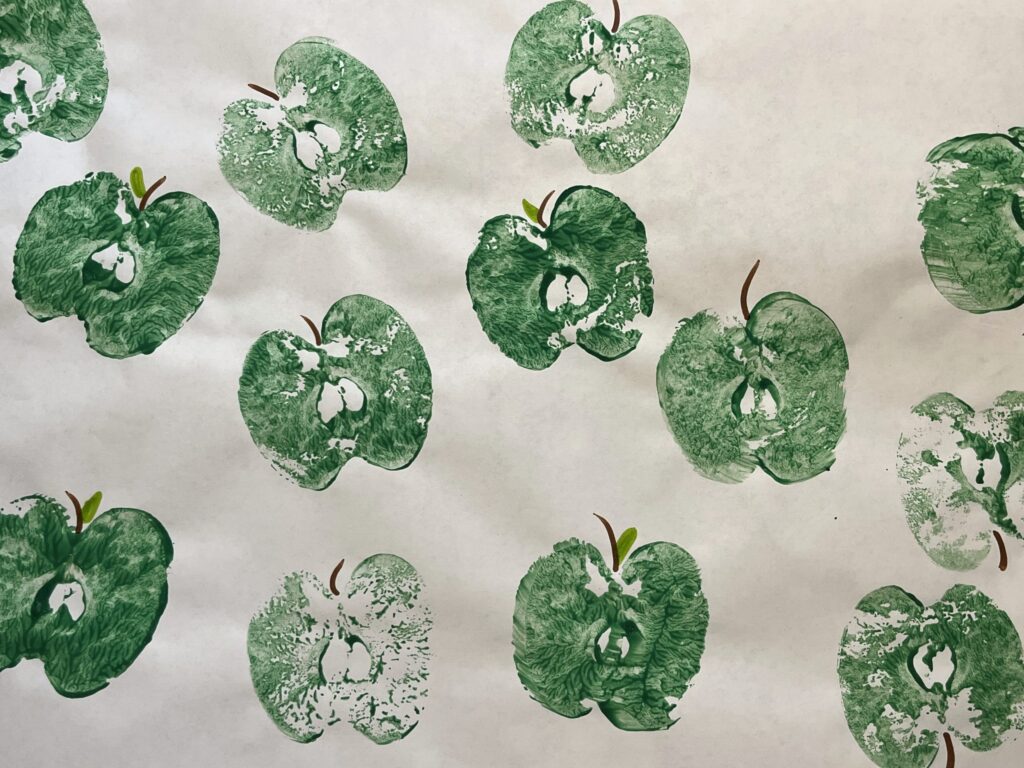
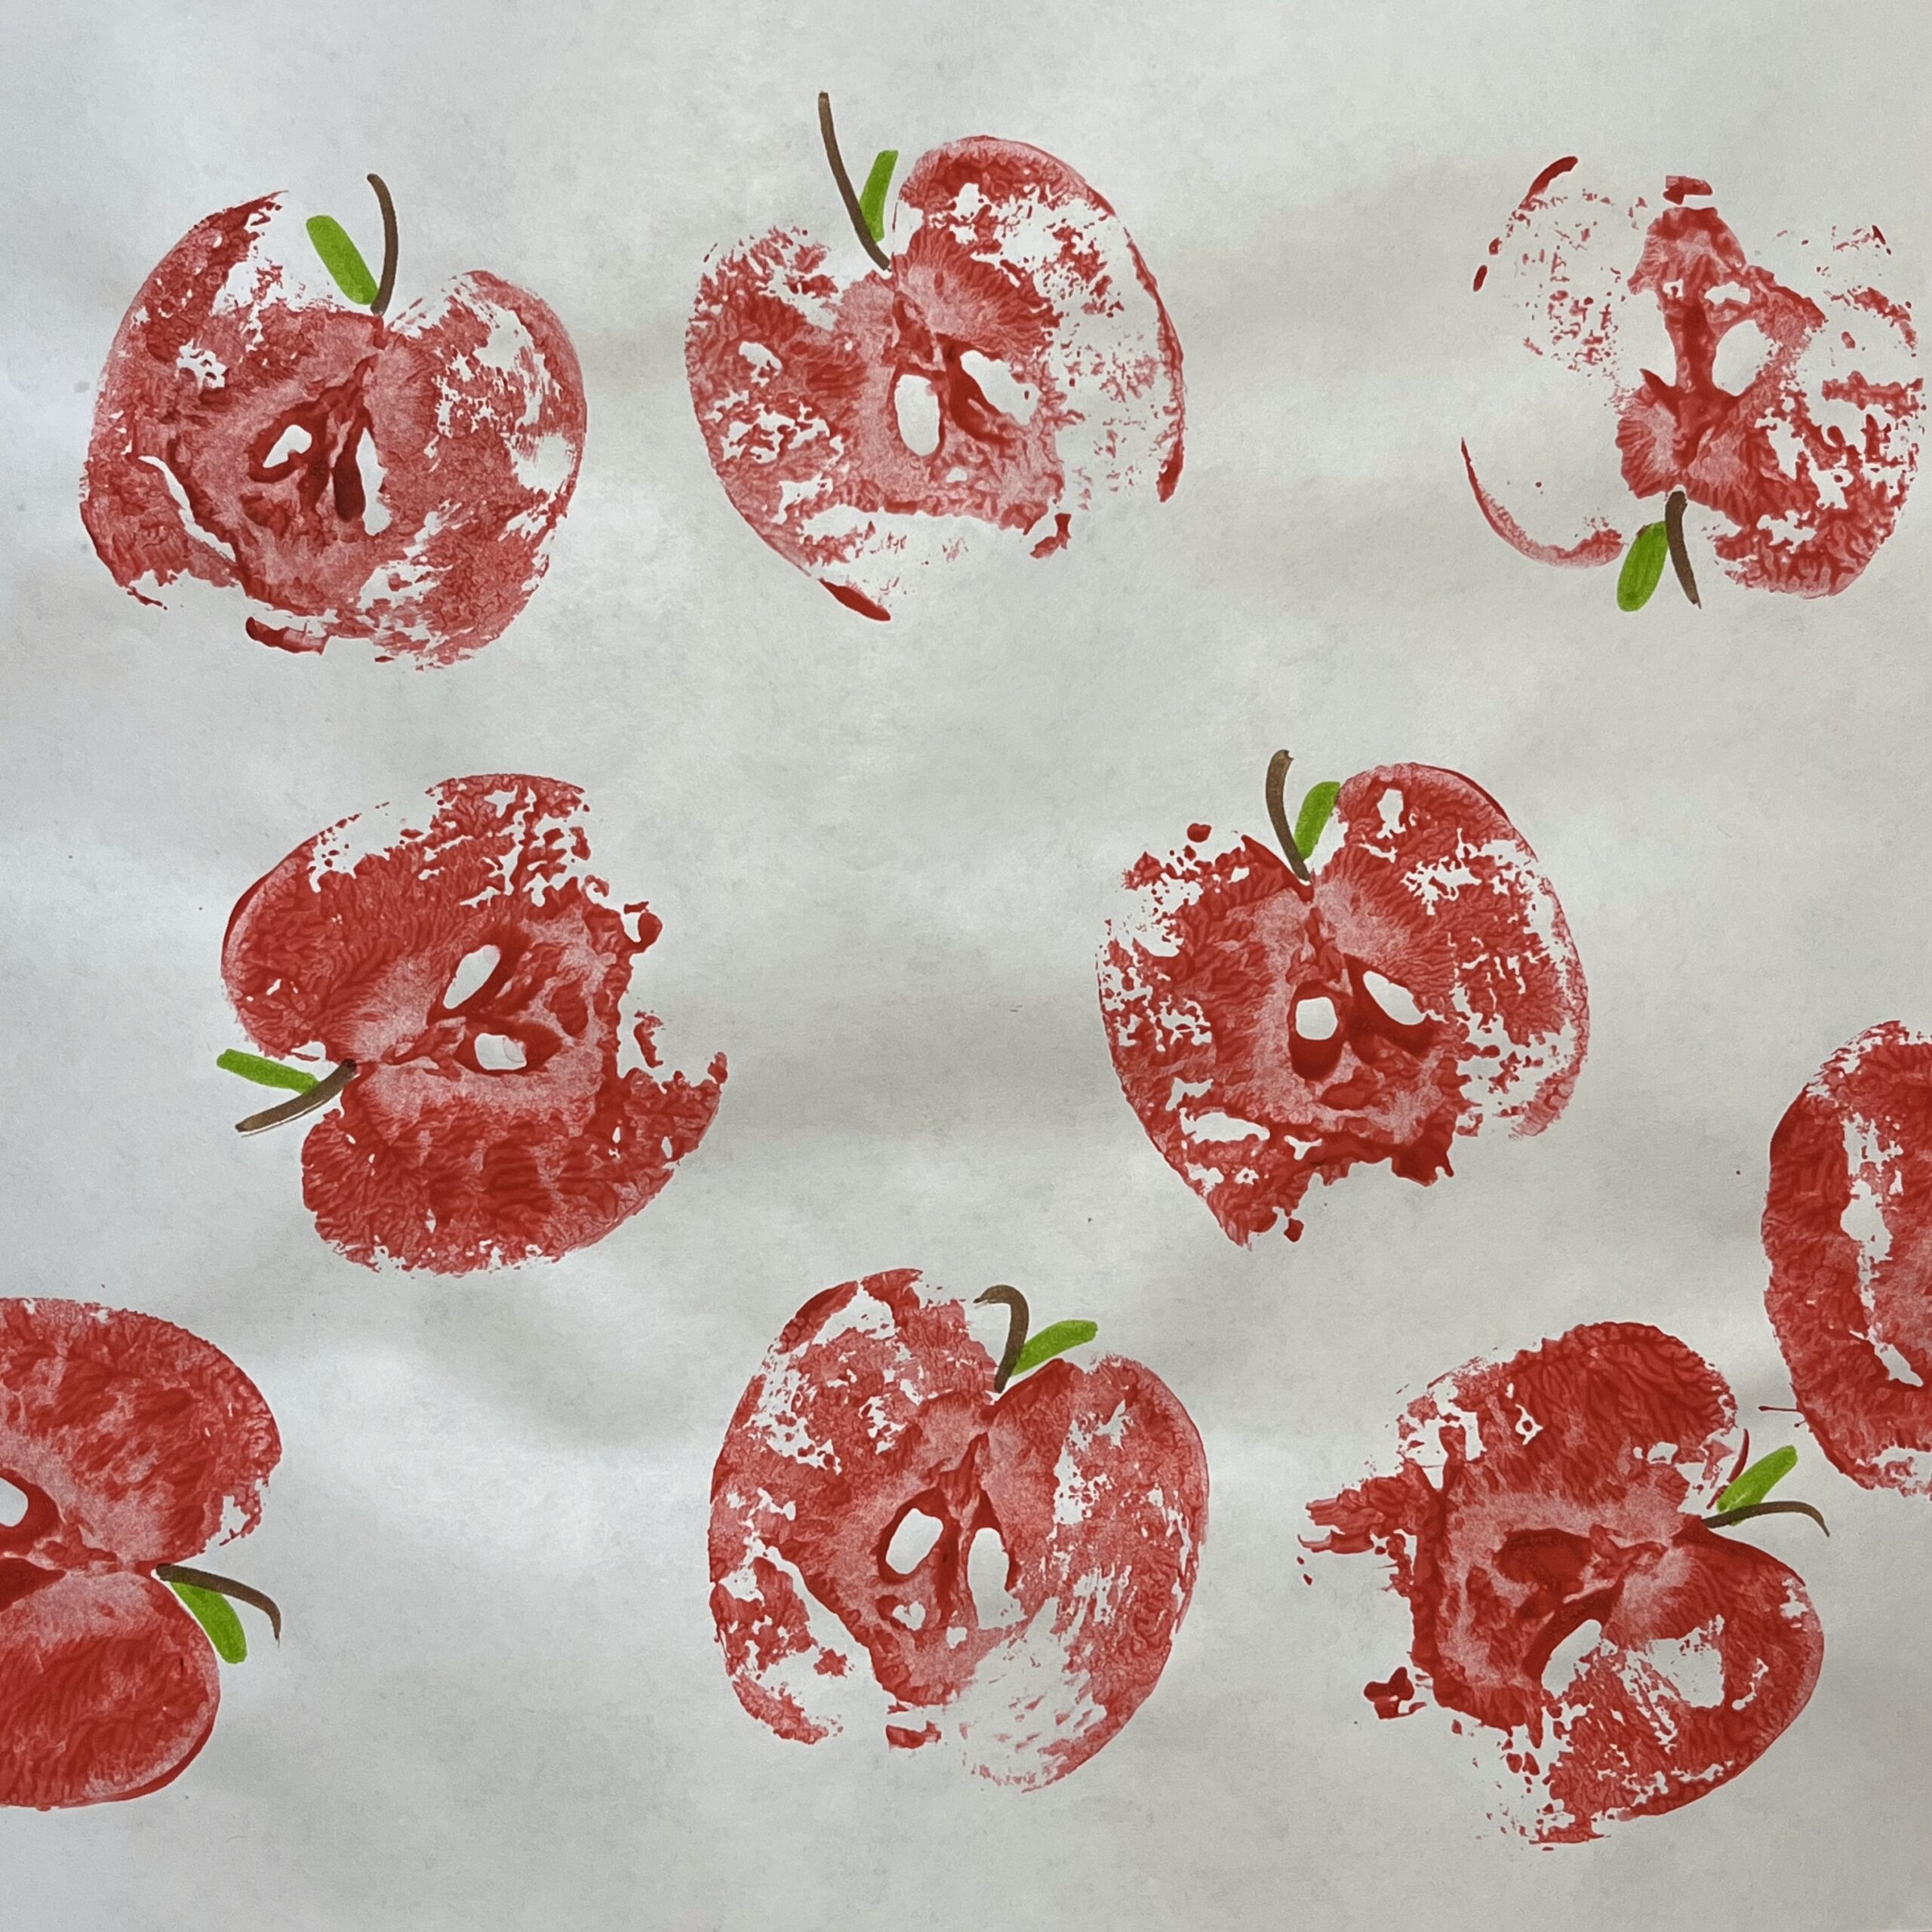
- Have students paint the exposed inside of the apple, then use that to stamp on the page.
- Students can choose whether they’d like to have only red apples, only green apples, or a combination of both.
- Set the stamped papers aside to dry.
Step Two:
- Once the stamped apples are dry, hand back the papers so students can use markers to add stems, leaves and seeds to their stamped apples.
- To finish the project, students should sign the front of their artwork at least 1” away from the edge of the paper.
This is a fun and easy fall craft that comes out great! If you’re looking for an easy way to use up extra apples after apple picking or you’re looking to add a creative project to your unit about apples and apple trees, this apple stamping project is an easy win that works for many ages, ranging from toddlers to elementary schoolers.
Age Group
Toddler – Grade 2
Time
20-30 minutes total
Materials
- white 8 ½” x 11” art paper
- washable paints
- markers
- paint brushes
- apples