Handprint Turkeys Lesson Plan
What You’ll Need
- White paper provided by Original Works (or another high-quality, 70# 8 ½” x 11” art paper)
- Washable paint in multiple colors
- Orange and black markers
- Glue
Project Prep
Before attempting this project with kids, we recommend creating a sample version! It helps you see where problem-points might be for your kiddos, and gives the students a chance to see what the finished result will be as they’re working towards it.
Handprint Turkeys Project Instructions
This project will be completed in three straightforward steps:
Step One: The Background
- Creating a background for the turkeys is a great opportunity to learn about color mixing. To create a festive orange background, work with students to put red paint on one hand and yellow paint on the other.
- Have them rub their hands together, mixing the colors to create orange!
- They will then fingerpaint the entire paper to create a unique background.
- Note that younger children will need some assistance with this step, while older kids in later grades may be able to mix the paint colors on their own.
- Put the papers aside to let them dry fully.
Step Two: The Handprint Turkeys
- Paint the students’ hands to create the colorful handprints that will be transformed into turkeys.
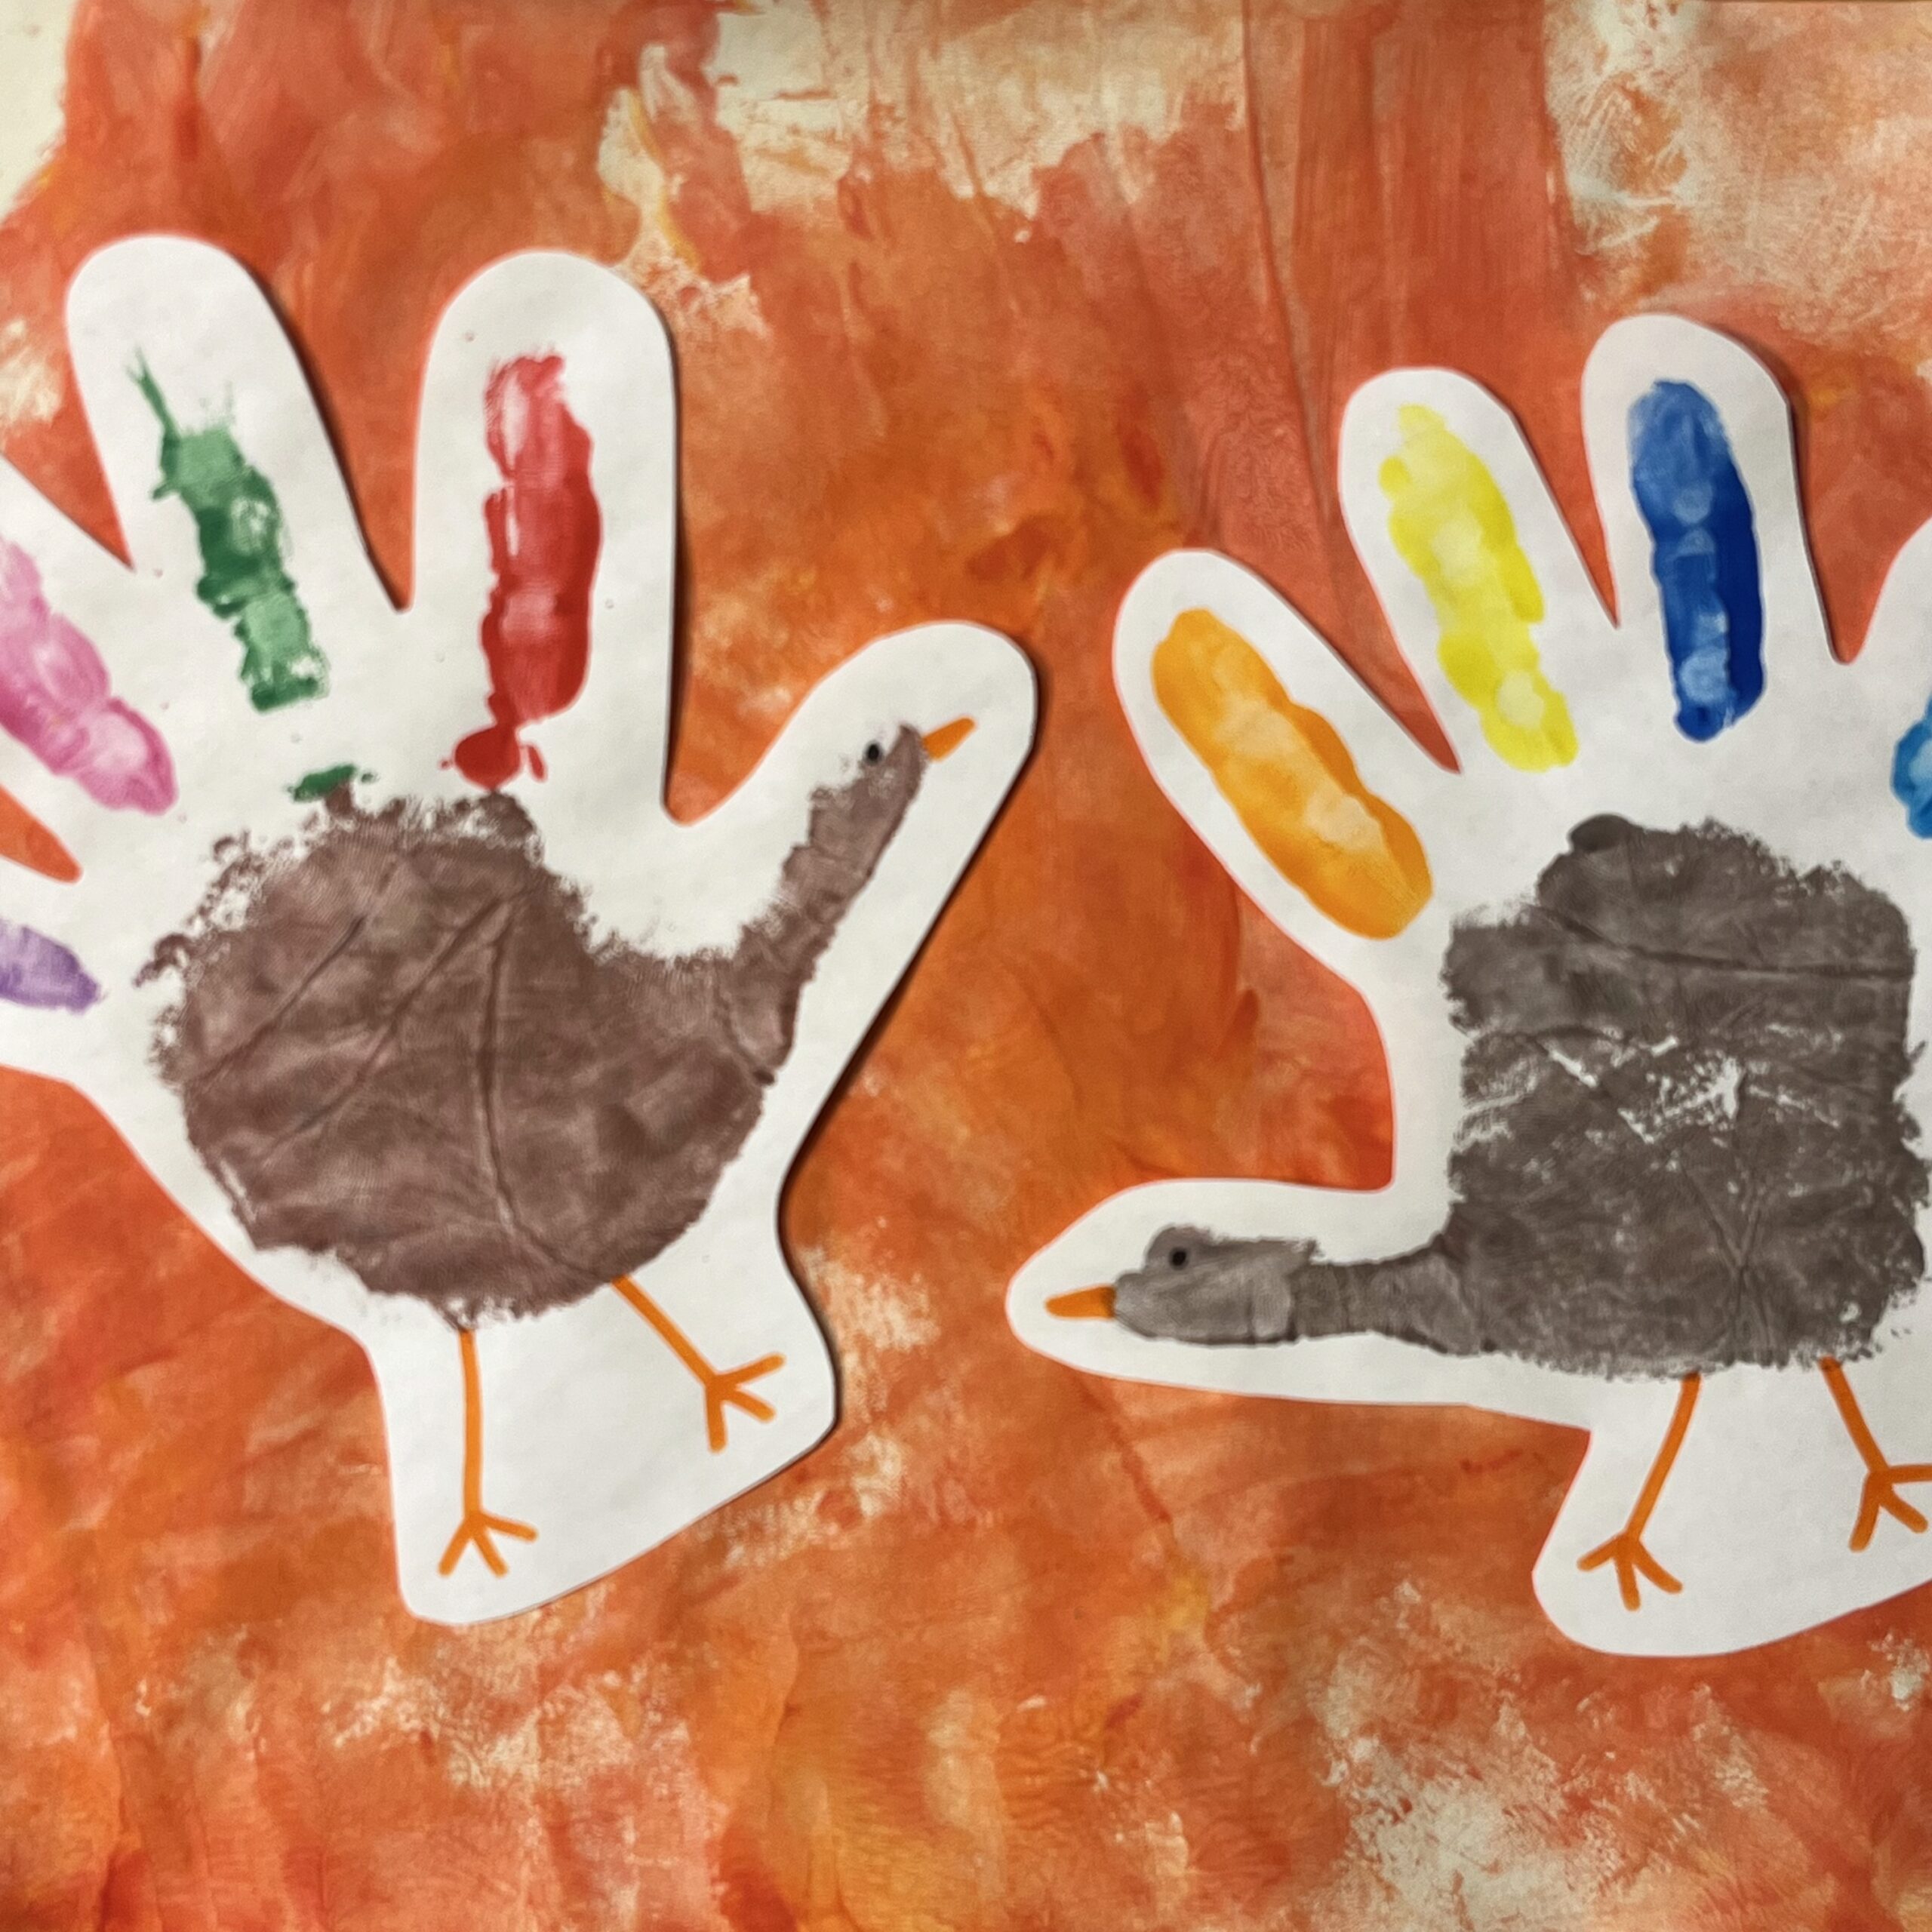
- Paint the palms and thumbs brown to create the body/head/neck of the turkey. Paint each finger a different color to create the feathers. Place the hand down on the page to create a handprint, being careful not to smudge!
- Repeat this step for the other hand.
- Again, note that younger students will likely need adult assistance with this. Older students may be capable of working in pairs or independently to paint their hands, closely following the instructions you provide.
- Once the handprints have been made, set them aside to dry.
Step Three: Final Assembly
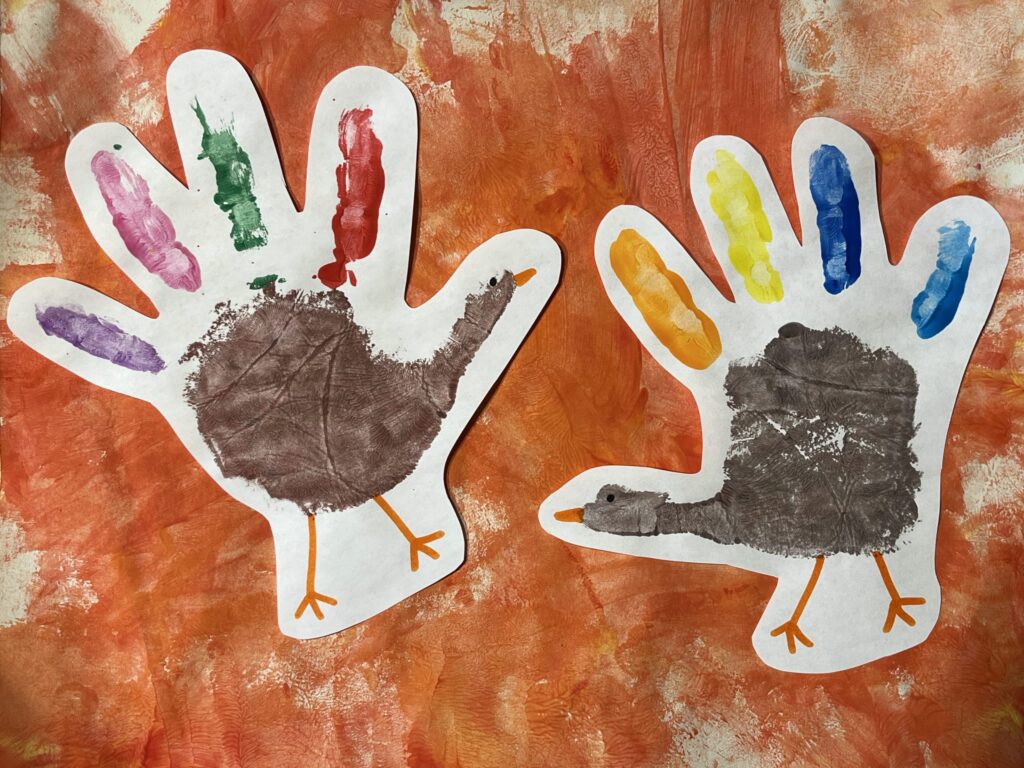
- Once the backgrounds and the handprints are completely dry, it’s time to finish the turkeys and assemble the final product! With an orange marker, draw a beak, legs, and feet on each handprint to make it look like a turkey. Use a black marker to draw an eye on each turkey. After adding these features, cut out the turkeys.
- Older kids may be able to do this with instruction. For younger students, this step should be completed by an adult.
- Glue the turkeys to the orange fingerpainted paper, then sign the project at least 1” away from the edge of the paper.
If you’re looking for a cute and unique take on a traditional handprint turkey, this project is a great option – though it is a bit messy, especially for the younger crowd. If you’re not afraid to get a little messy with fingerpaint, it’s also a great opportunity to teach kids about primary colors and color mixing, plus it’s a chance for older kids to refine their scissor skills.
Laminate these for cute Thanksgiving placemats or feature them on your favorite Original Works product for a seasonal keepsake that will be enjoyed for years!
Age Group
Toddler – Grade 2
Time
30-40 minutes total
Materials
- white 8 ½” x 11” art paper
- washable paint in multiple colors
- orange and black markers
- glue