Dot Marker Caterpillars Lesson Plan
What You’ll Need
- 8 ½” x 11” construction paper
- Dot markers
- Markers
Project Prep
This is a simple project that requires minimal preparation ahead of time, especially for older students. All you’ll need to do is assemble the materials.
For younger students, it will be helpful to draw guide lines to assist them with the shape and size of their caterpillars. We recommend drawing light lines in pencil on the construction paper for them to follow with their dots.
Dot Marker Caterpillars Project Instructions
- To get started, show the children an example of the project they’re going to be making. You may want to make a couple of examples so they have a couple of different styles they can follow and use as inspiration.
- Hand out project materials to each child: construction paper, dot markers and regular markers.
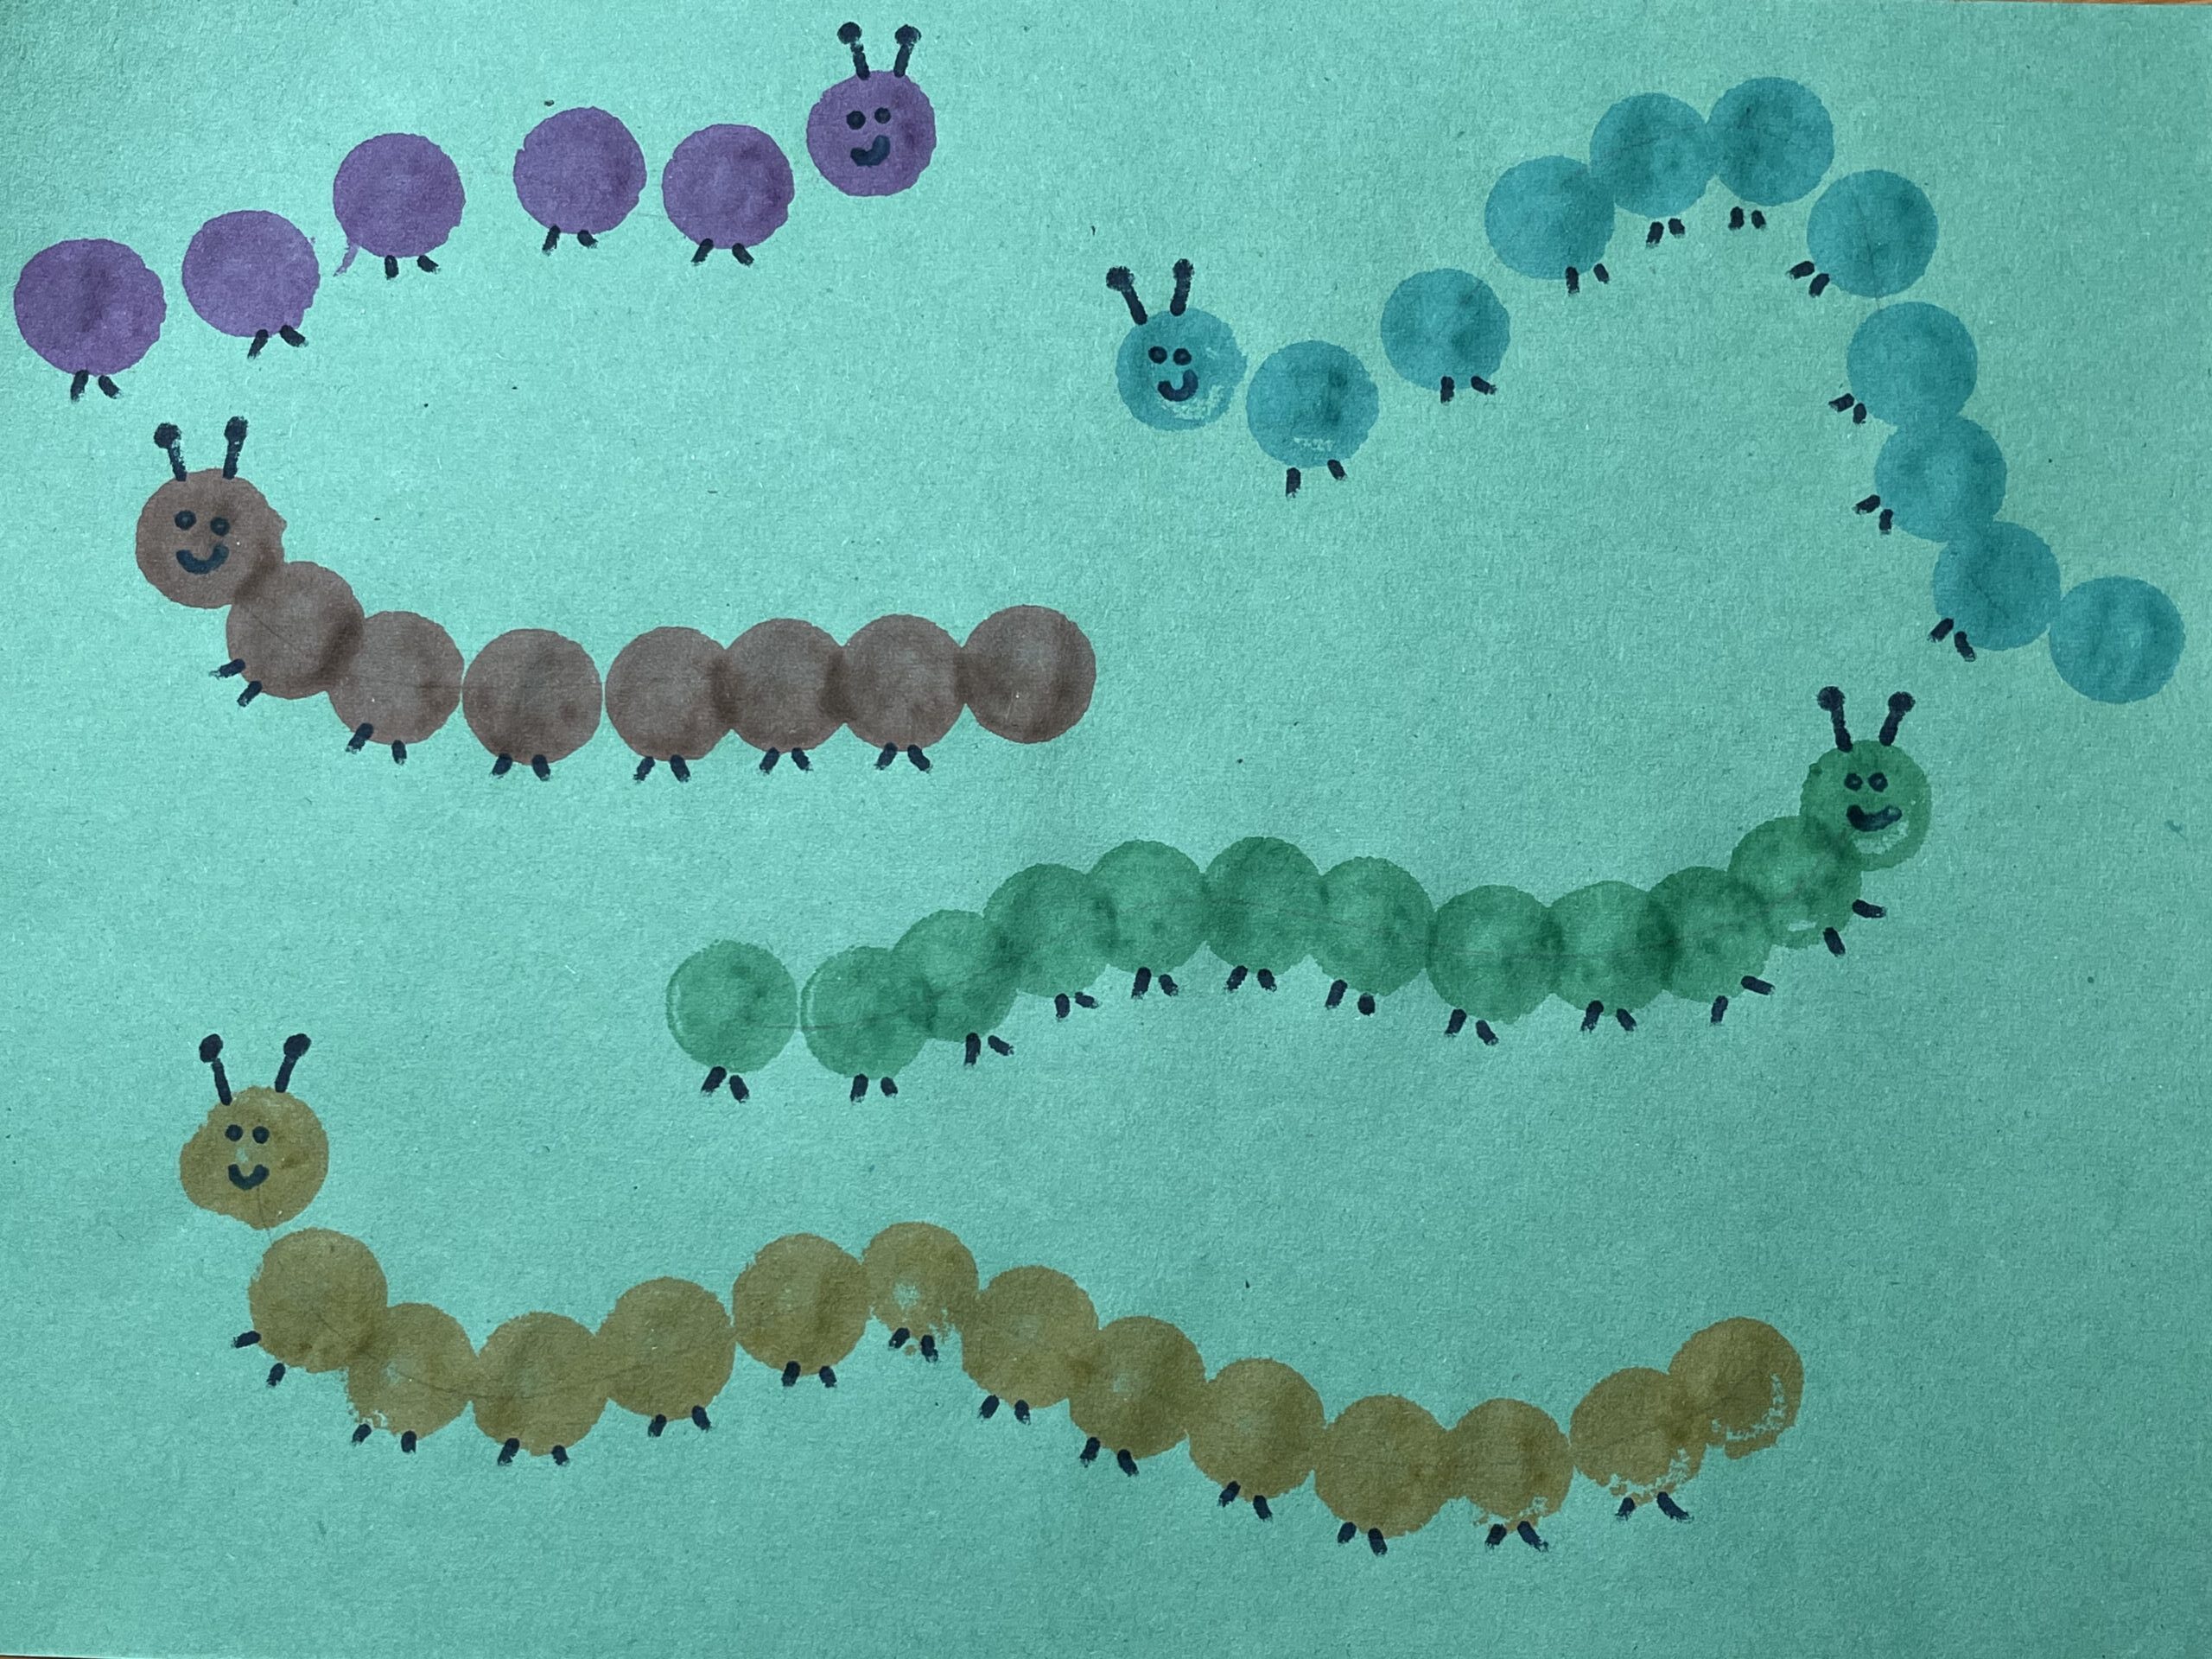
- Students will start by making a series of connected dots on their paper with the dot markers. These dots will serve as the bodies of the caterpillars. Students should be able to fit 3 to 5 caterpillars on their page. For younger kids, they’ll follow the guide lines that you have drawn to ensure adequate spacing and caterpillar sizing.
- Next, kids will choose a dot on one end of the caterpillar and draw a face on it. They should add some small antennae as well. (Note: for younger kids, you may need to assist with this step or even complete it for them.)
- On the remaining dots, draw little legs on the caterpillars. (Note: again, for younger kids, you may need to assist with or complete this step yourself.)
- Once the caterpillars are complete, students can sign the front of their artwork at least 1” away from the edge of the paper.
Age Group
Pre-K – Grade 1
Time
15 minutes
Materials
- 8 ½” x 11” construction paper
- dot markers
- markers