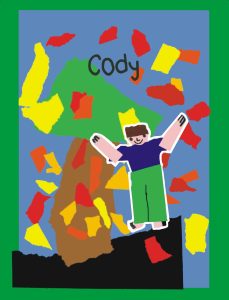
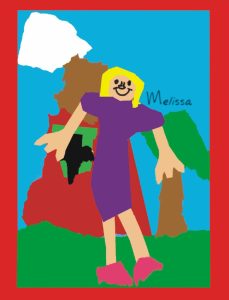
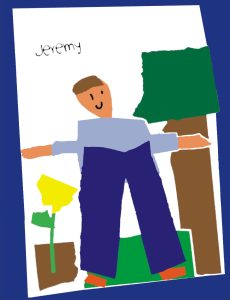
Self Portrait Paper Collage Lesson Plan
A collage made with cut and torn paper
Process
Day One:
- Talk about different things the students like to do.
- Discuss color and special relationships.
- Reserve the black or dark colored paper for use as your collage base.
- Using the variety of papers, cut or tear out the body, legs, arms and head of your self-portrait.
- Position the pieces of the self-portrait on the dark background paper.
- Arrange the figure in an action pose.
- Once the student is satisfied with his/her “figure”, use the glue and firmly secure the figure onto the paper.
Day Two:
- Add background objects – house, ground, trees, pets, toys, etc.
- Add stars, dots and other small shapes for extra detail.
- Using the black marker, add details to the face.
- Add finishing touches. Make sure that pictures are complete. Student’s name should be printed on the front away from the paper edge. Make sure to record the student name, grade/teacher and school, in pencil, on the back of the artwork.
Special thanks to Tim Cherry, Art Educator @ Wake Forest, NC for this lesson plan!
Age Group
Grades K-2
Difficulty
Moderate
Rated 3 out of 5
Time
2 Class Sessions
Materials
- 8 1/2″ x 11″ white art paper
- variety of papers (construction, wall paper…)
- scissors
- glue
- black marker
- example of the project