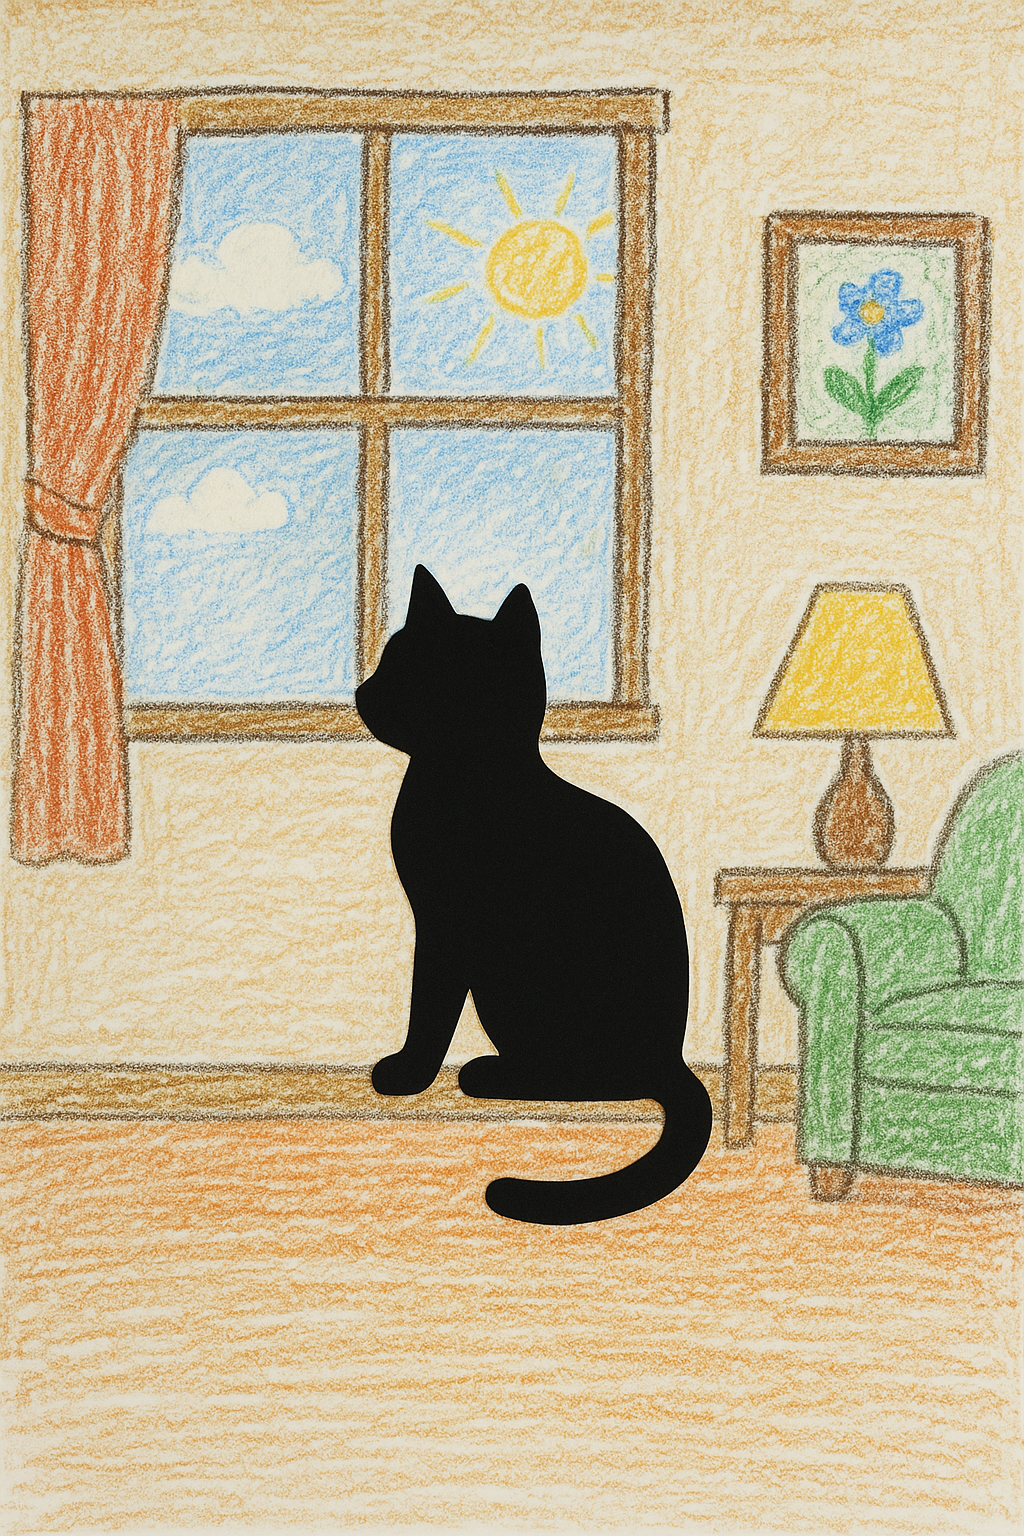
Silhouette Story
Process
- Create the Silhouette Shape
- Have students trace around a small object or toy onto black construction paper OR draw a silhouette freehand.
- Cut out the shape carefully.
- Place on the white paper, but don’t glue it on yet.
- Design the Silhouette
- Use crayons, markers or paints to create the rest of the picture around the silhouette.
- The scene should “tell the story” of the silhouette.
- Place the Shadow
- Glue the black silhouette onto the background
- Add Details
- Encourage students to add background elements, color boldly, and fill the page.
Tips for Success
- Show a few examples so students can see how the silhouette can be part of a bigger scene.
- Remind them that silhouettes are always solid black—no details inside.
- Encourage creativity: the silhouette can become part of something real or something imaginary.
Age Group
Grades 1-3
Time Needed
1–2 sessions (45–50 minutes each)
🖍️ Materials
- White 8.5″ x 11″ art paper
- Black construction paper scraps
- Scissors
- Glue sticks
- Crayons, markers or paints for background
- Optional: small objects/toys for casting shadows