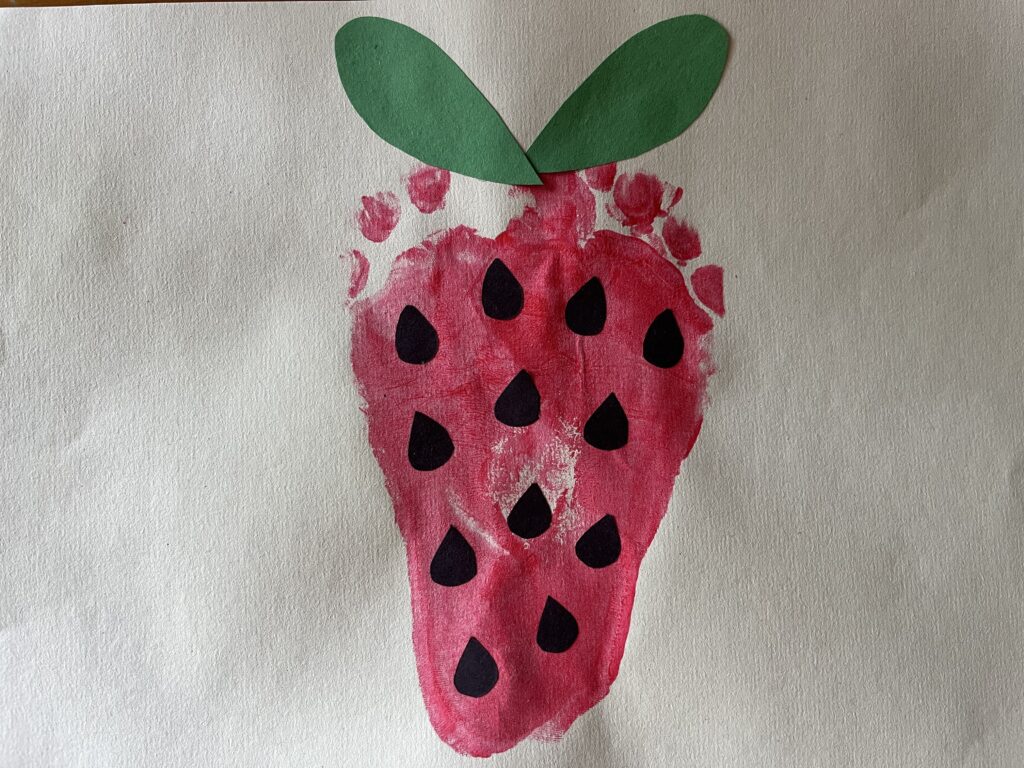
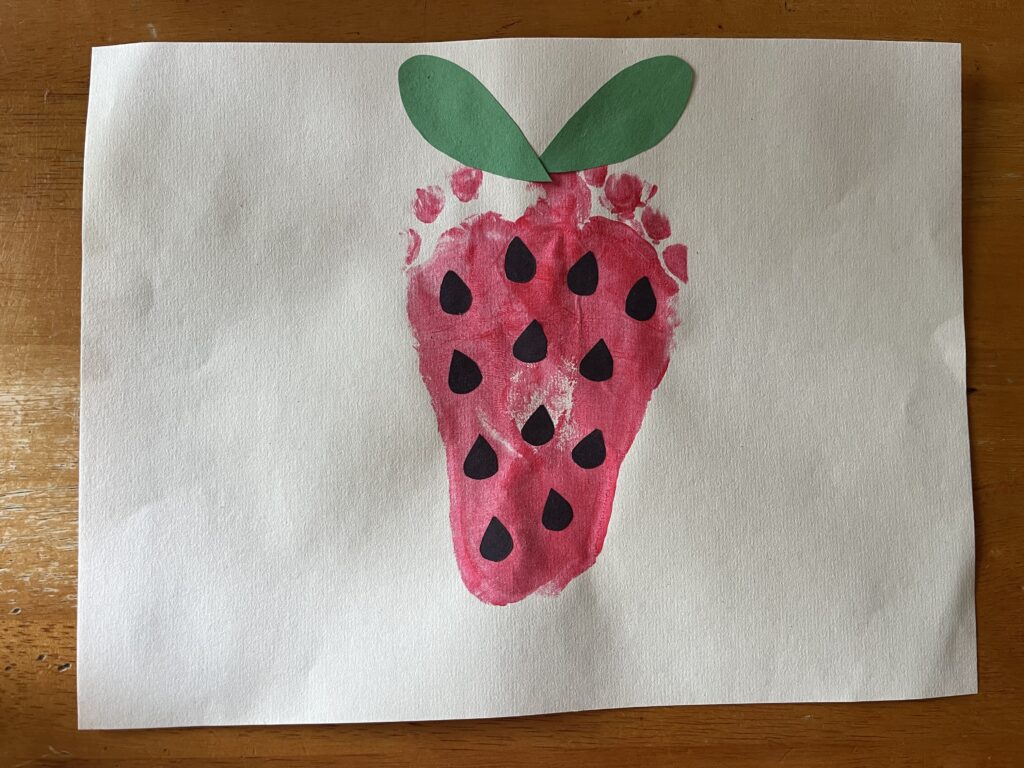
Footprint Strawberry Lesson Plan
What You’ll Need
- White paper provided by Original Works (or another high-quality, 70# 8 ½” x 11” art paper)
- Washable red paint
- Green and black construction paper
- Paint brushes
- Glue sticks
- Paper towels
- Wet wipes
- Paper plates
Project Prep
This project involves minimal preparation – though it is a messy one! Ahead of time, cut out the strawberry seeds and leaves. You’ll cut the seeds from black construction paper. They should be teardrop shaped and about 1/4 to 1/2 inch in diameter. (Smaller feet will result in smaller strawberries – which will require smaller seeds!) You’ll need 10-12 seeds per strawberry.
The leaves should be cut from green construction paper. Each strawberry will require 2 leaves. The leaves are also shaped like teardrops, and they are about 1.5 to 2.5 inches long.
Note: Because of the messy nature of this project and the young age of the kids completing it, we recommend doing it 1:1 with each child. Make sure you have planned accordingly so you don’t end up with painted footprints all over your classroom!
Footprint Strawberry Project Instructions
This project will be completed in two short steps:
Step One:
Prep:
- Show the students an example of the finished project so they understand what they’re working towards.
- Assemble the items you’ll need for step one: red paint, a paint brush and white paper. (You’ll also need some wet wipes and paper towels to clean off kids’ feet as you go.
Hands-on:
- Paint one foot with red paint. Don’t forget to paint the toes as well! Place a footprint on the paper, towards the center but with room for another footprint to go next to it.
- Paint the second foot, and place that footprint on the page directly next to the first one, with the heels and the balls of the feet touching.
- For kids with high arches, you may have a blank spot in the center of your strawberry. We recommend smudging a little bit of paint there so the strawberry doesn’t have a hole in it!
- Wipe down the paint-covered feet and set the papers aside to dry.
Step Two:
Prep:
- Once the footprints are dry, it’s time for step two! Hand out glue sticks, seeds, and leaves to each kid.
Hands-on:
- For young students, you’ll likely want to work closely with them to make sure the seeds and leaves are properly placed. You can also draw outlines in pencil to guide them. Be sure to show them the finished product again so they understand what they’re working towards.
- Students should sign the front of their artwork at least 1” away from the edge of the paper once their footprint strawberry project is complete. (For kids this young, you may need to add their names.)
Age Group
Grades Toddler – Pre-K
Time
20-30 minutes total

Materials
- white 8 ½” x 11” art paper
- finger paints
- markers
- paint brushes
- glue sticks
- paper towels
- wet wipes
- paper plates