🚨  Learn more about our Exciting New Program – Online Direct   🚨

Create Great Artwork - Original Works
Coordinator Care Center » Create Great Artwork

Create Great Artwork

Create Great Artwork

Where Great Products Begin

A little creativity goes a long way! Follow these tips to create artwork that looks amazing on every Original Works keepsake.

YOUR CREATIVE CHECKLIST

1

CHOOSE YOUR PAPER


✔️ Use the Original Works art paper for best reproduction

✔️Size: 8 ½” x 11”

✔️60-70# art paper if using your own

⚠️ Construction paper is okay- but colors may vary
2

PICK YOUR MEDIA


🎨 Markers
🎨 Tempera Paint
🎨 Acrylic Paint
🎨 Crayons
🎨 Watercolors
🎨 Paper Collage 
🎨 Photos

AVOID THESE
🚫 Glitter  🚫 Metallic
🚫 Neon  🚫 Abrasive
🚫 3D Objects  
 

3

FILL THE WHOLE PAGE
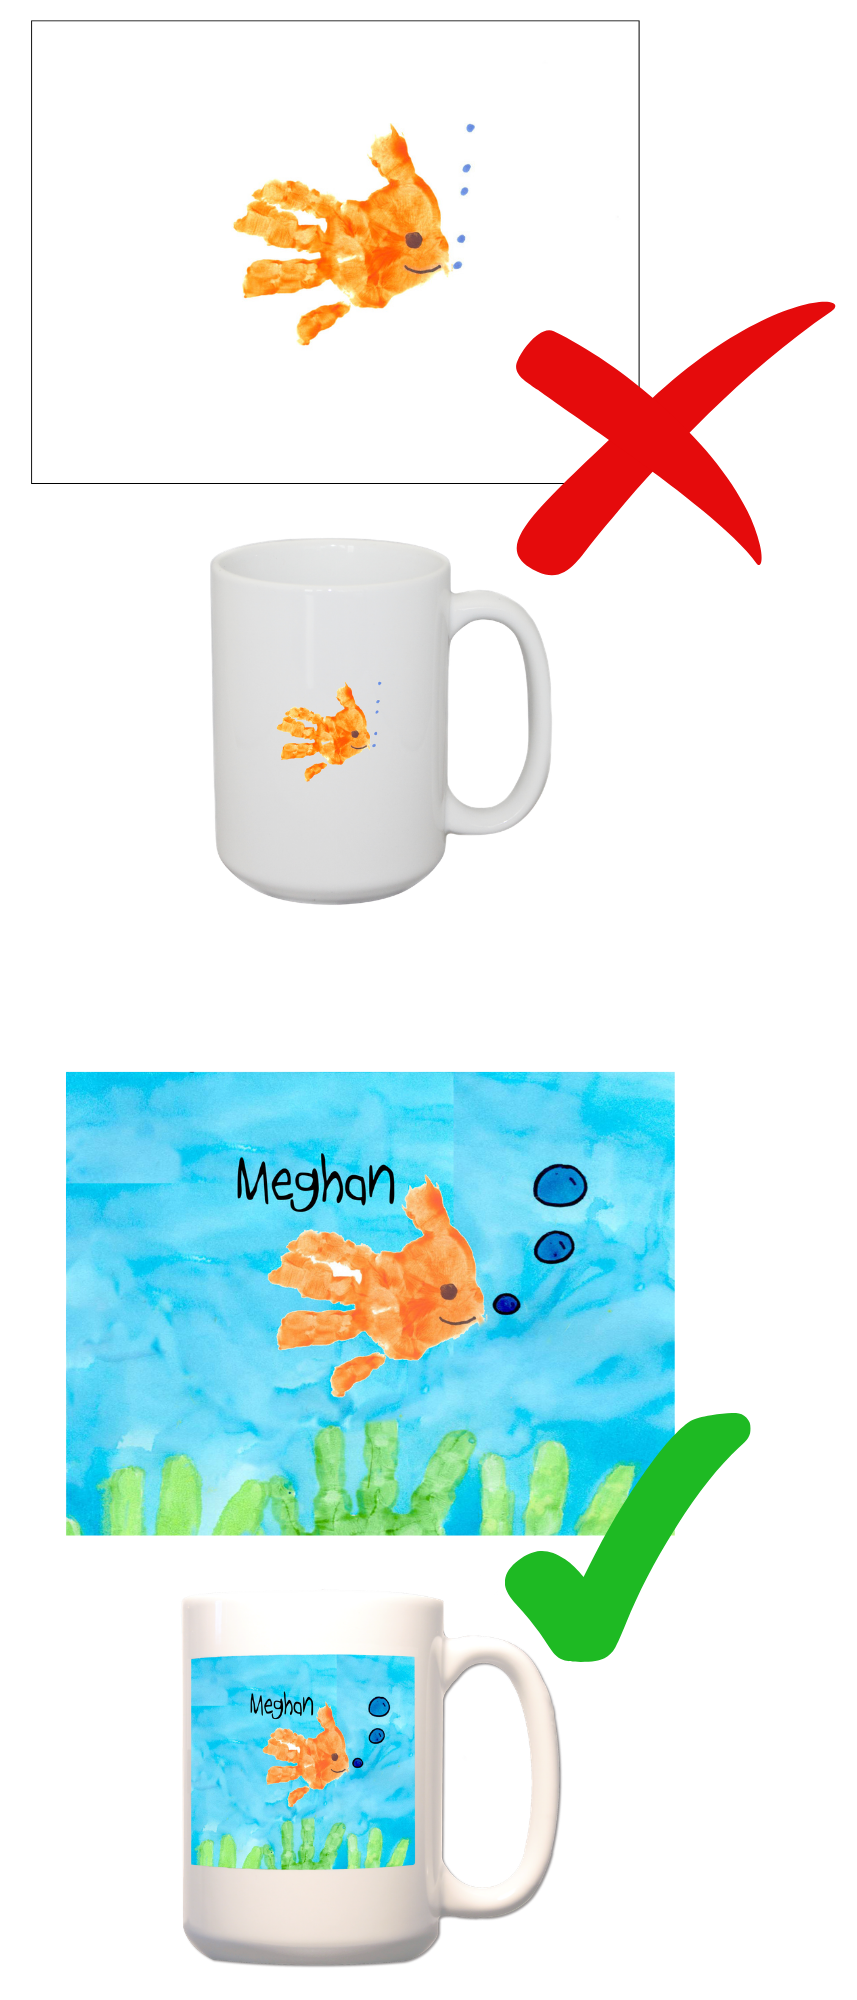
Art example with filling the page with color

4

COLOR LIKE YOU MEAN IT!

Light Colors 

Bold Colors


5

WATCH THE EDGES
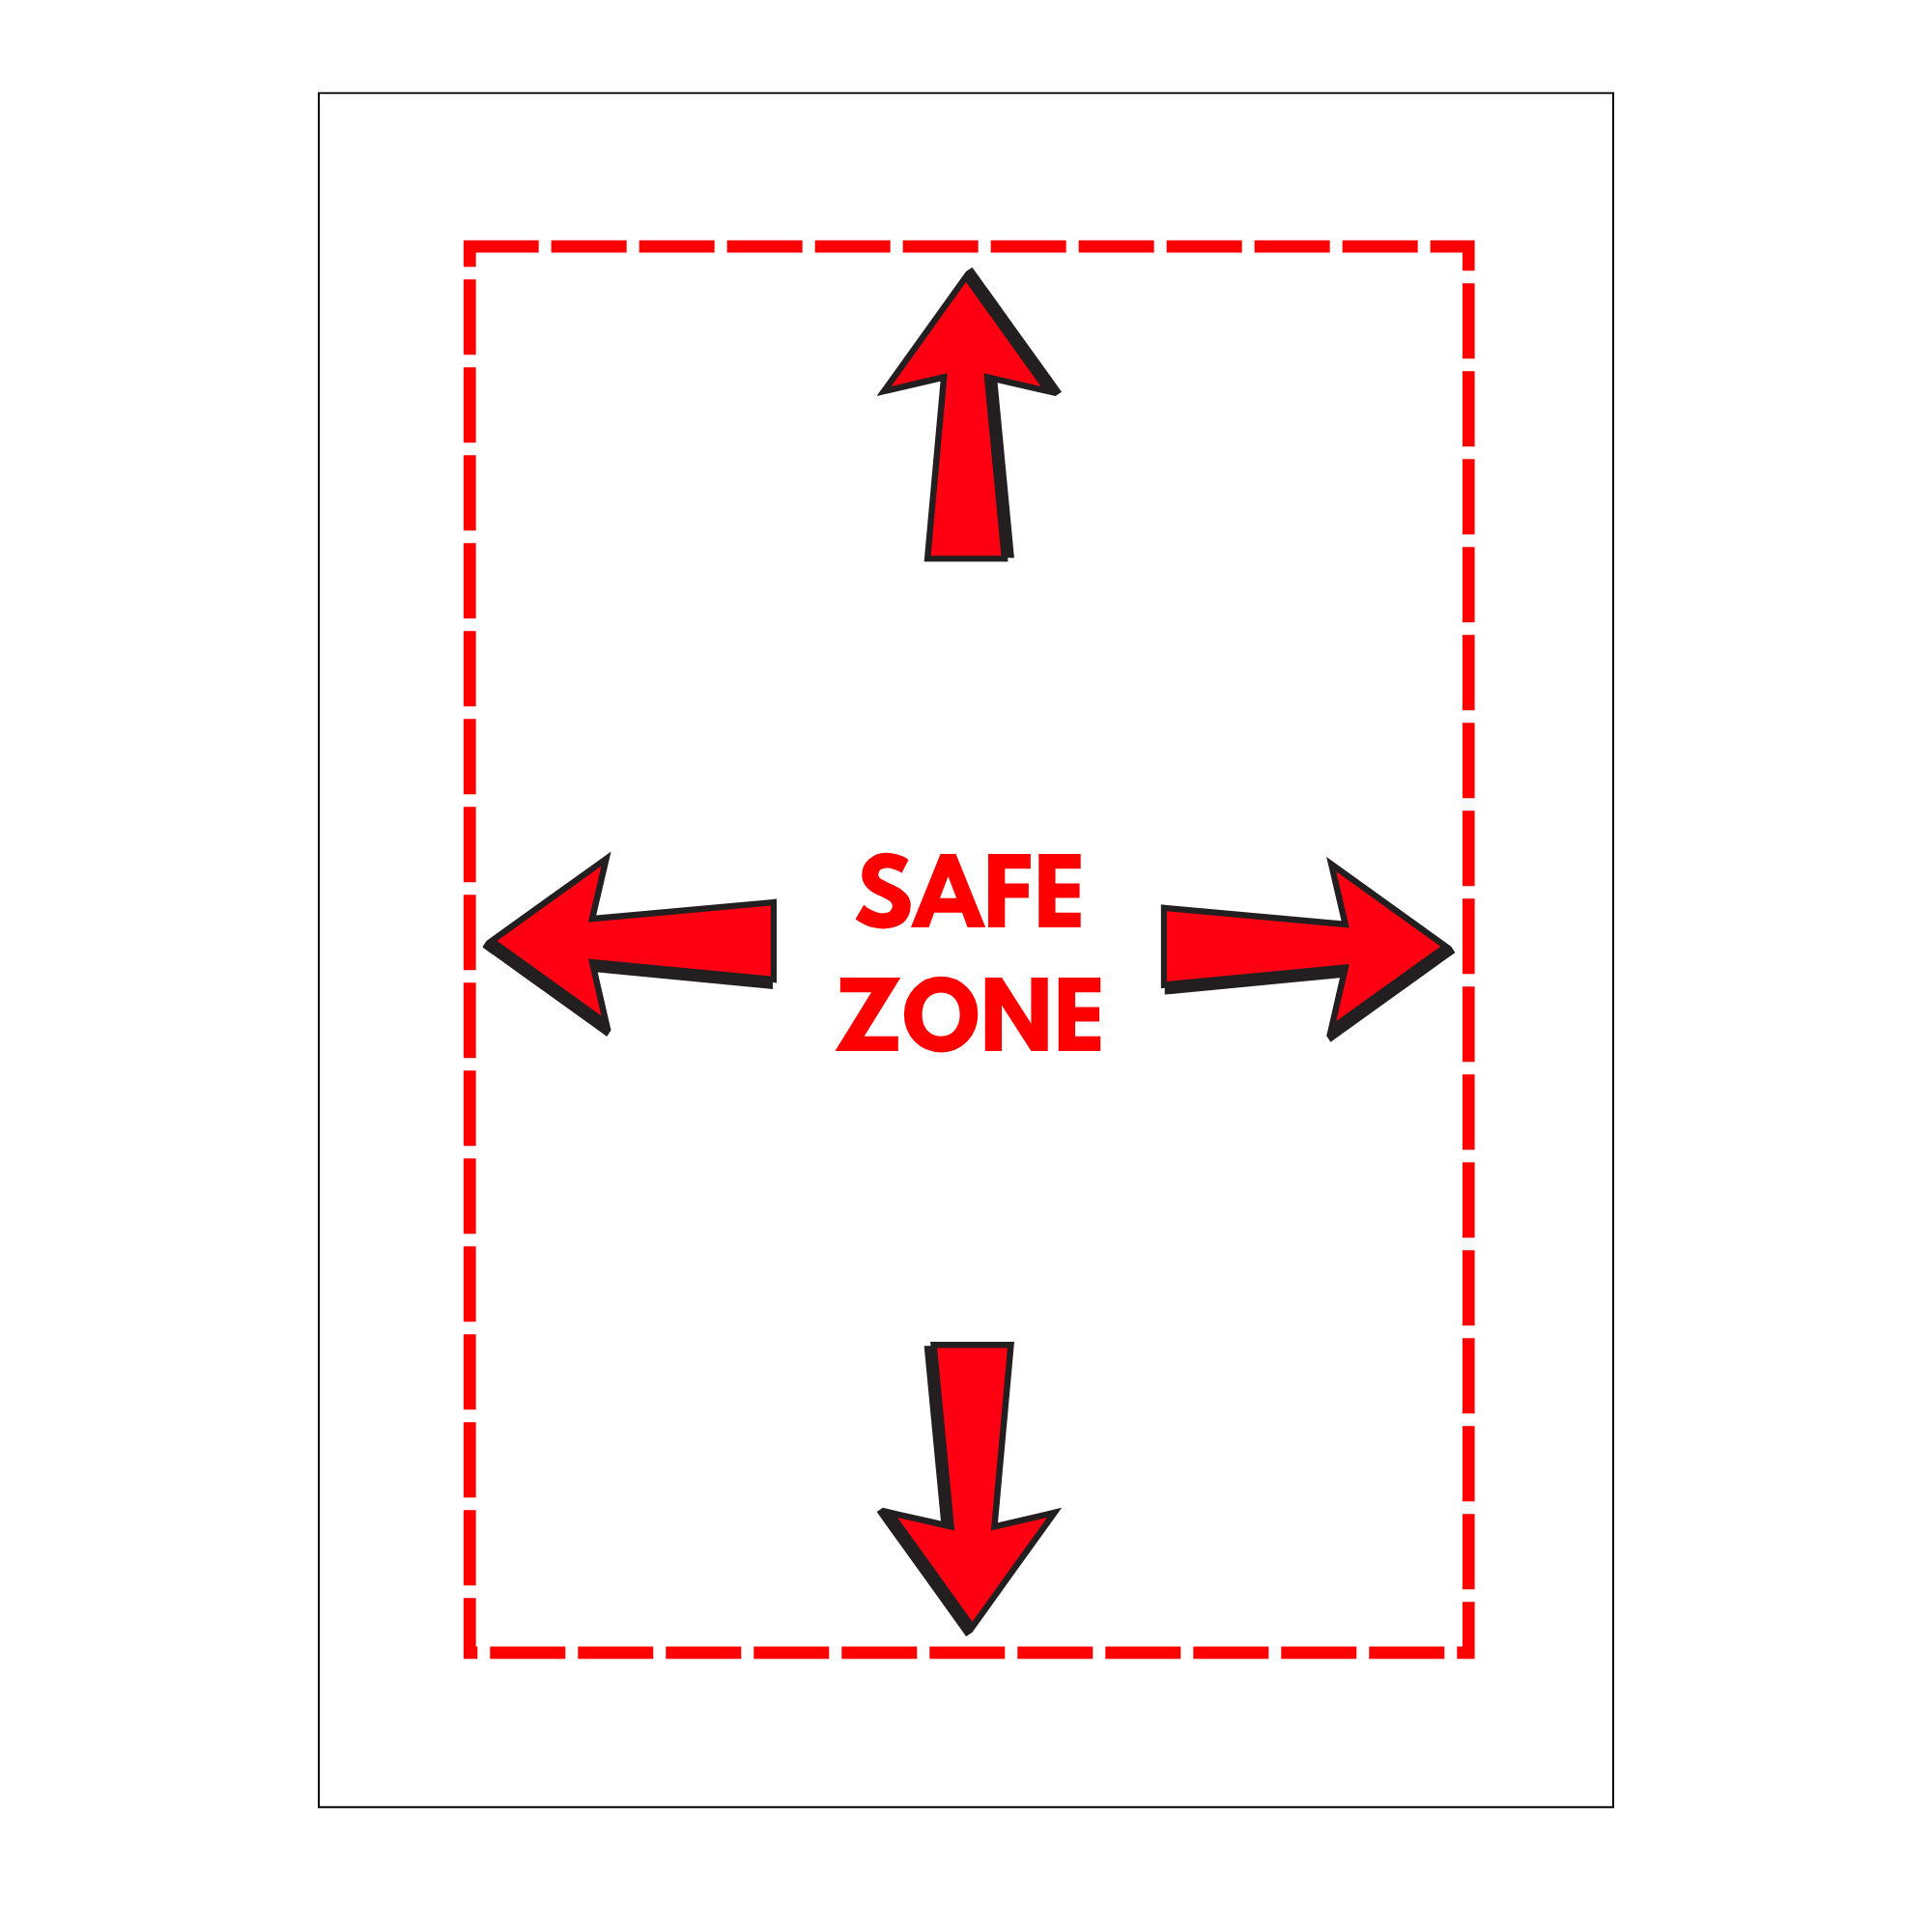
Keep names, dates, faces and important details at least 1″ from the edge!


FREQUENTLY ASKED QUESTIONS

Red O with FAQ board

For the best results, we recommend using a high-quality art paper with a weight of 60–70#. Standard copy paper is a no-go—it’s too thin, and anything on the back may show through on the final product..

Important Note for Tile Wall Programs:
Tile orders require specific artwork sizes based on the tile size selected. Please reach out to your account manager before using substitute paper—we’ll guide you to the right dimensions so your students’ masterpieces turn out picture-perfect.

The short answer is yes. However, often construction paper will not reproduce true to color. Depending on the quality of the paper, blues can look purple, blacks can be green, etc.
If you use construction paper, please note that it will be at your own risk. We will not be able to process Fix-Its on orders for color corrections.

For the best results we recommend that you use a high-quality art paper with a paper weight of 60-70#.

Our products are designed for artwork created on 8½" x 11" paper to ensure proper placement and proportions. Using a different size throws everything off—we don’t crop or alter artwork to make it fit. Instead, any art submitted on the wrong size paper will be returned.

Tile Wall Exception:
If you're doing a tile wall, that’s the one time different paper sizes are needed—depending on the tile size you’ve selected. Just check with your account manager to make sure you’re using the right dimensions.

Based on federal regulations, we can’t accept any Trademark or Copyright images or logos. This includes brand names, emojis, video game or cartoon characters, stickers, cutout or torn pages from magazines and news print.

We encourage you to be creative! Please don’t send in pages torn from a coloring book.

Full bleed products are products where the artwork goes right to the edge of the product, and in some cases wraps around the edge. It is possible that anything within 1” from the edge of the original artwork could be cutoff on the final product . The colorful artwork should still go right to the edge of the 8 ½” X 11” paper, but we strongly suggest any important details (names, dates, heads etc.) a customer wants to see on the finished products be at least 1” away from the edge.

Products that are considered full bleed (image goes right to the edge and trimmed in production) in our current line include:

  • Lens Cloth
  • Ceramic Tile Trivet
  • Mouse Pads
  • All Ornaments
  • Key Chains
  • Matted Prints
  • All Magnets
  • Mini Art Easel
  • Pendant Necklace

For Original Works’ full bleed products where the artwork image goes right to the edge of the product and in some cases wraps around the edge (like the purse mirrors), it is always possible (and likely) that anything within that 1” from edge range on the original artwork will be trimmed off. The colorful artwork should still go right to the edge of the 8 ½” X 11” paper, but we strongly suggest any important details a customer wants to see on the finished products be at least 1” away from the edge, or be made large enough (like a sun in the corner) to accommodate trimming.


We don't recommend this.  Please know that acetate will sometimes alter the colors visually because of how the scanner light hits the surface. 

If you do use it, please to be sure to firmly affix the laminations/acetate and ensure that it is cut to the correct size with no hang over.

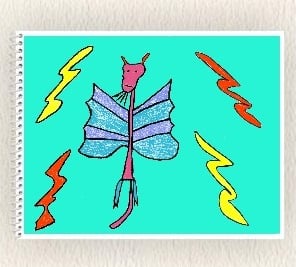
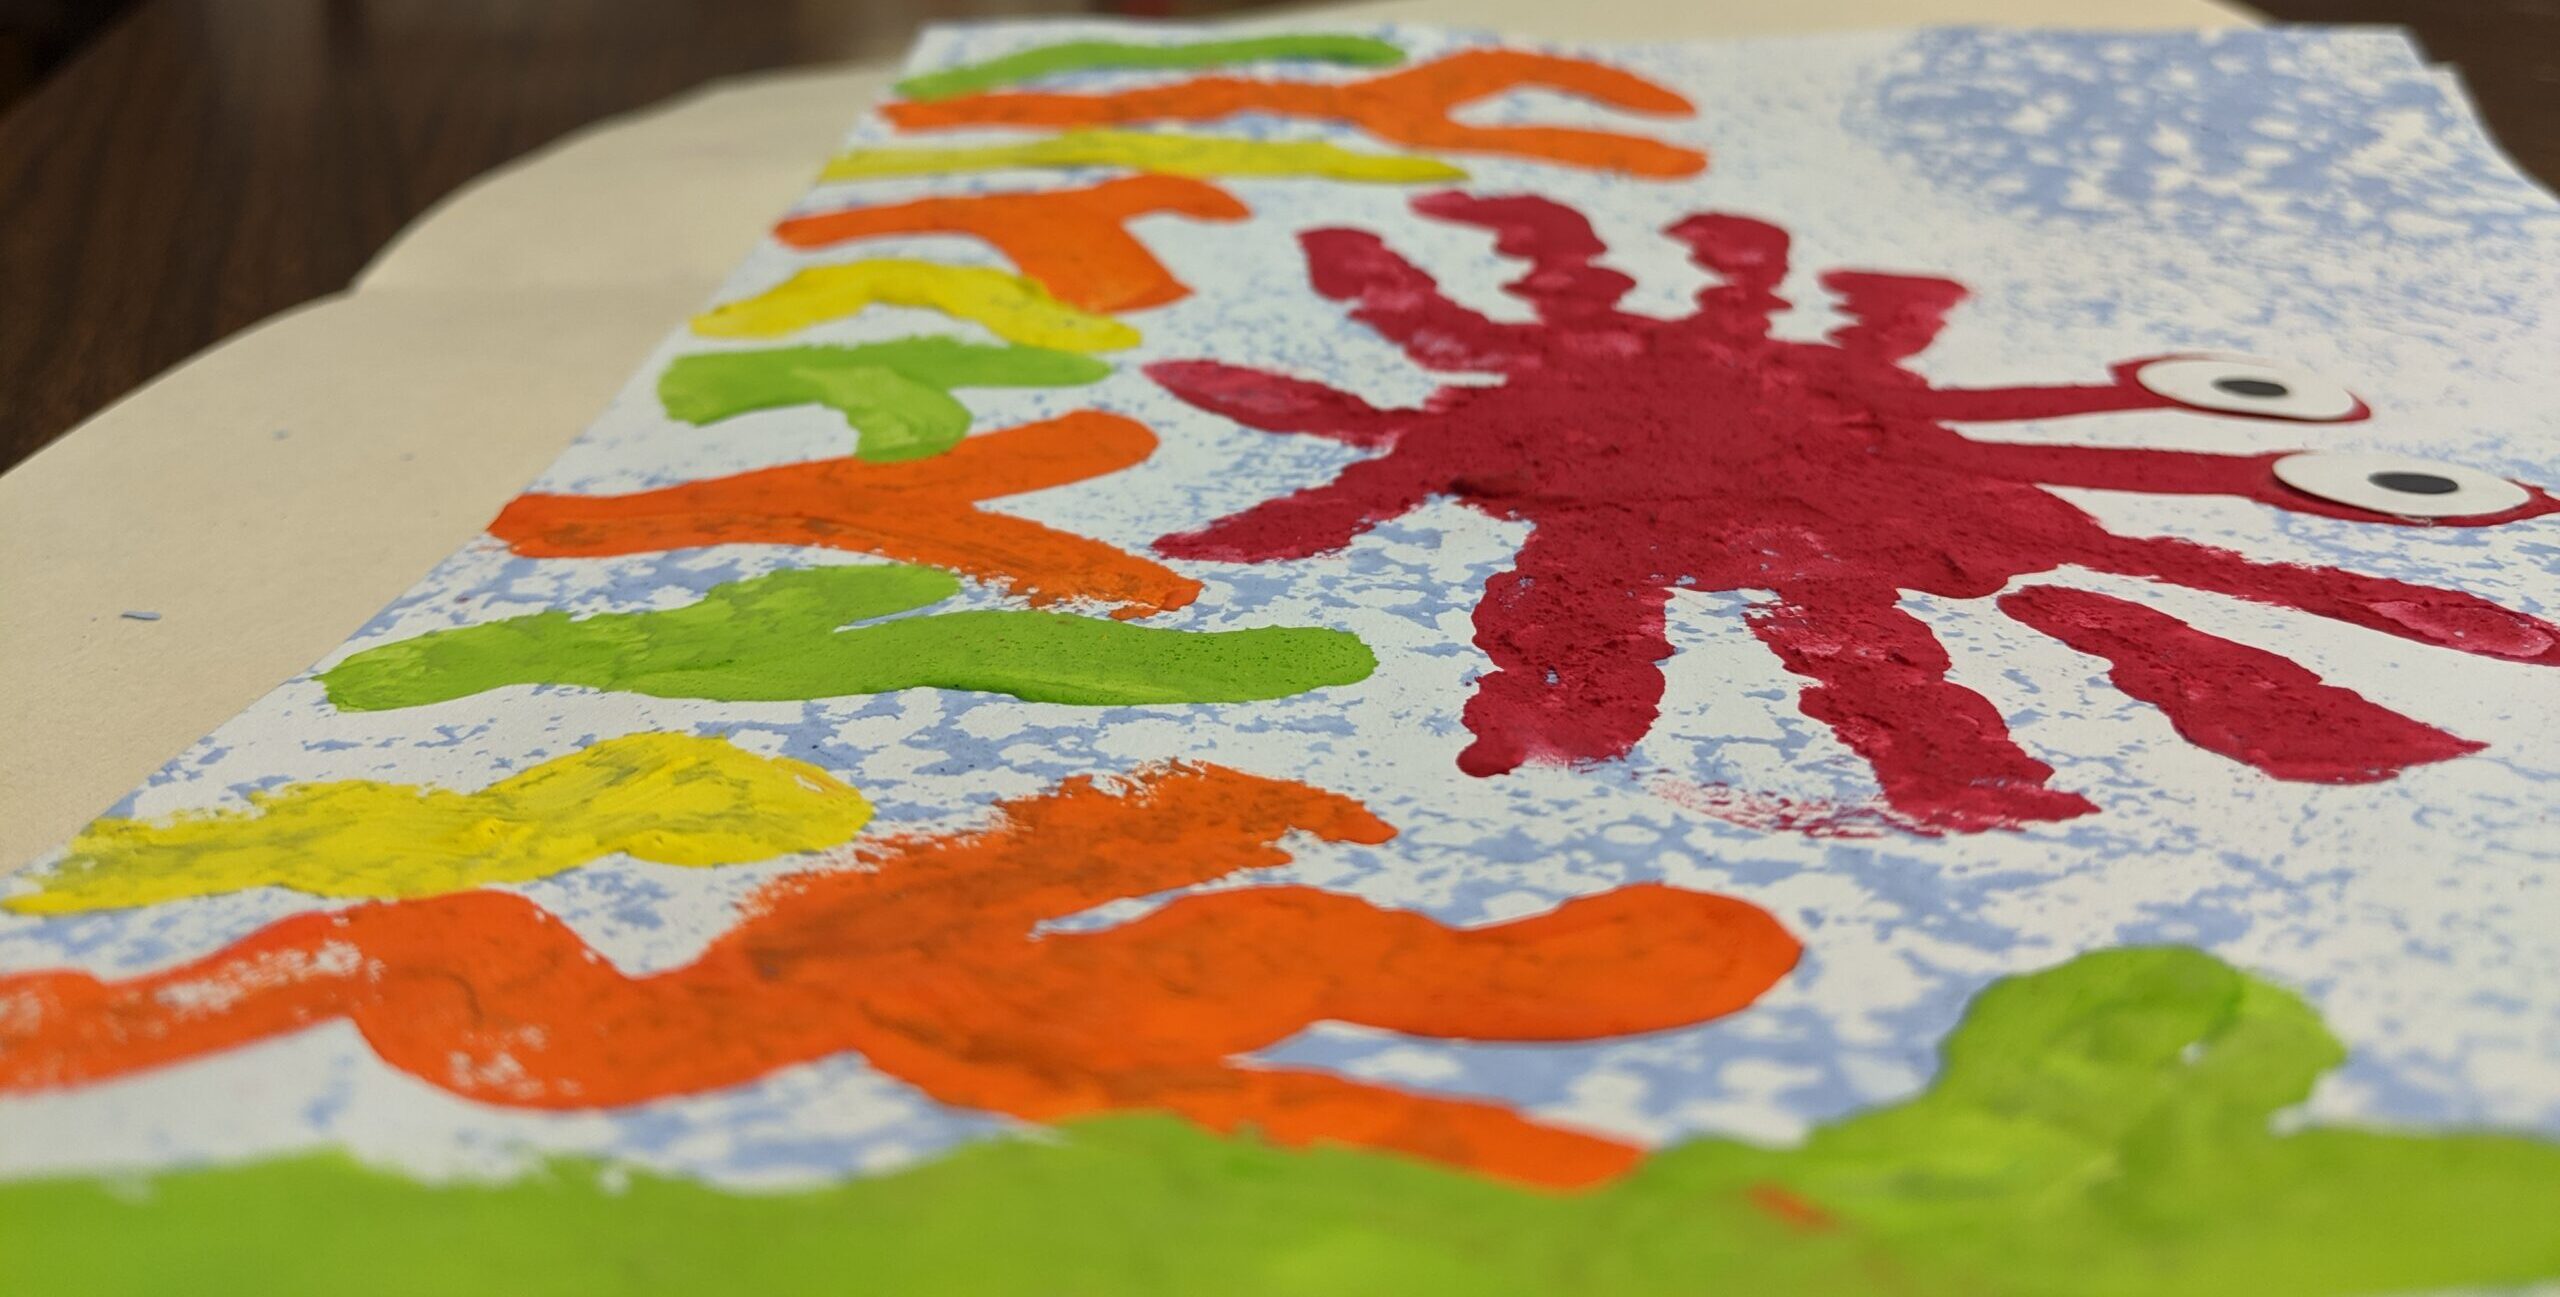
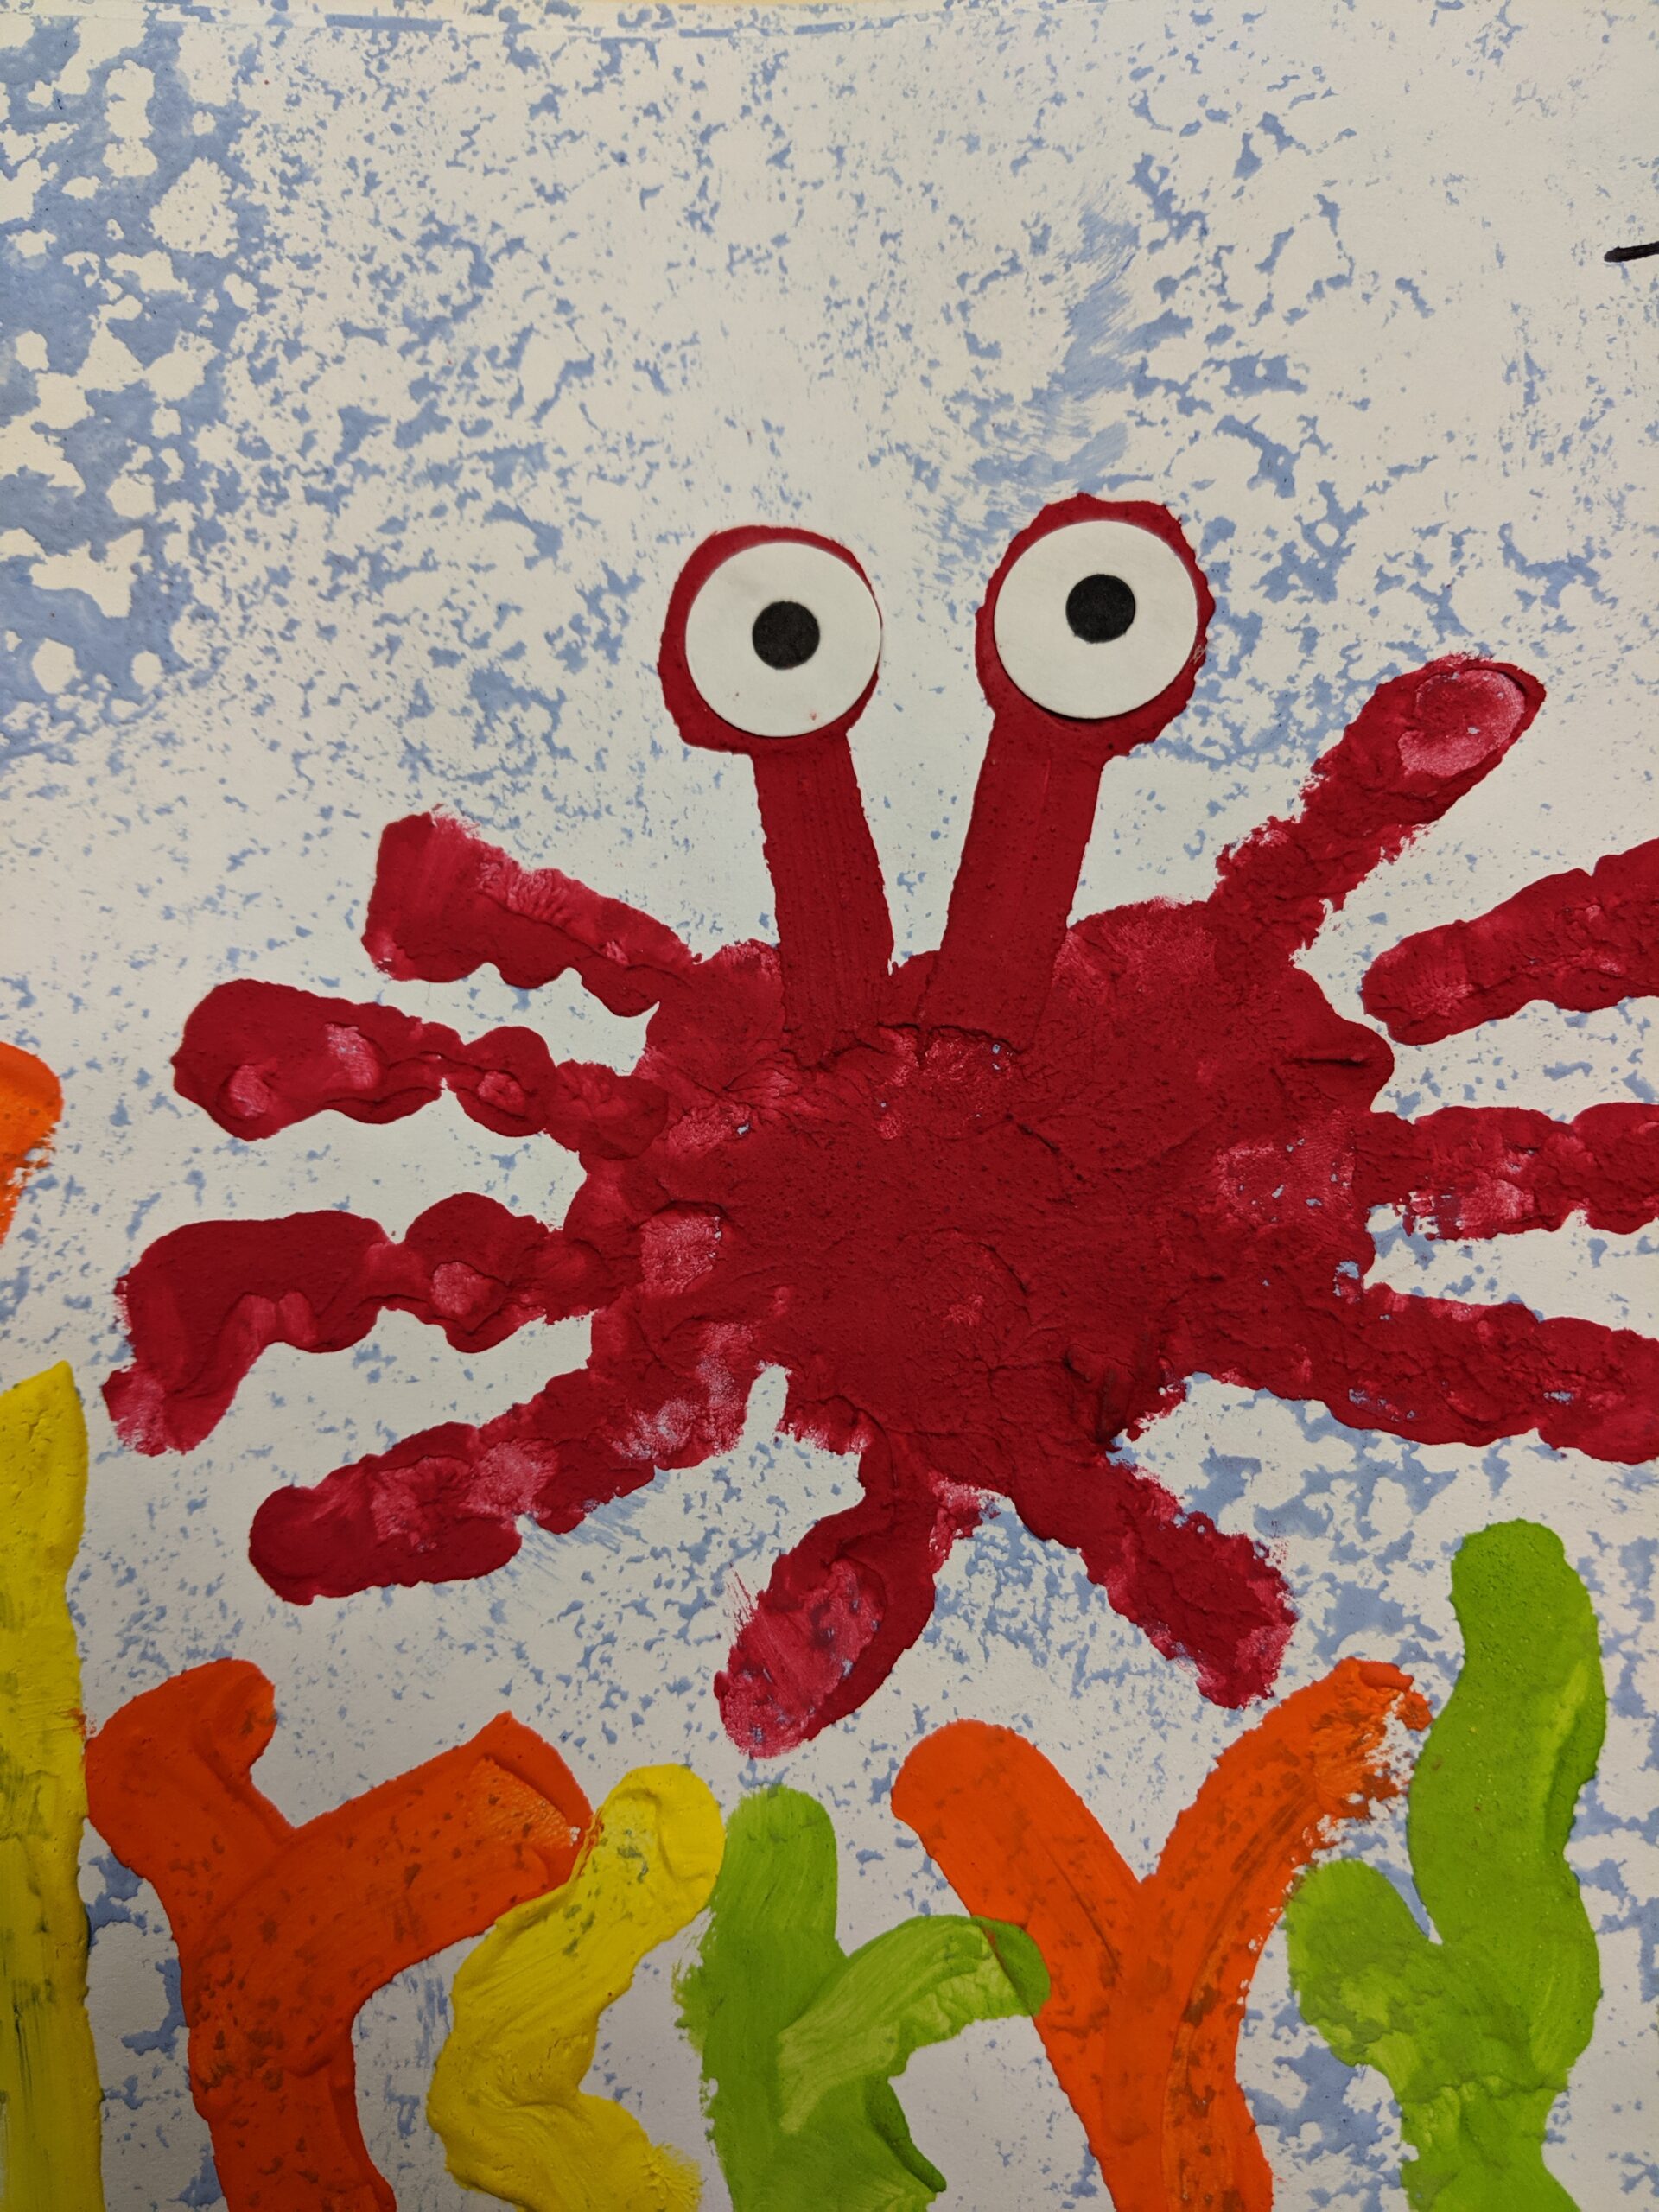
3D objects first of all are not 3D when reproduced which can lead to disappointment. They often will lead to shadowing and become flattened during our production process.
Some common 3D objects include:

  • Cotton balls
  • Foam cutouts
  • Wiggly eyes
  • Feathers
  • Yarn

We suggest using any of the following:

  • Crayons (press hard, and use the darker colors for best results)
  • Markers
  • Tempera or Acrylic Paints
  • Paper Collages (be sure to glue all the edges down)
  • Photos
  • Bold Intense Watercolors
  • Black Marker for outlining

Do NOT use these:

  • Glitter of any kind
  • Abrasives (sand, salt, etc.)
  • 3D Materials
  • Scratch art/Scratch board
  • Copyright/trademark items

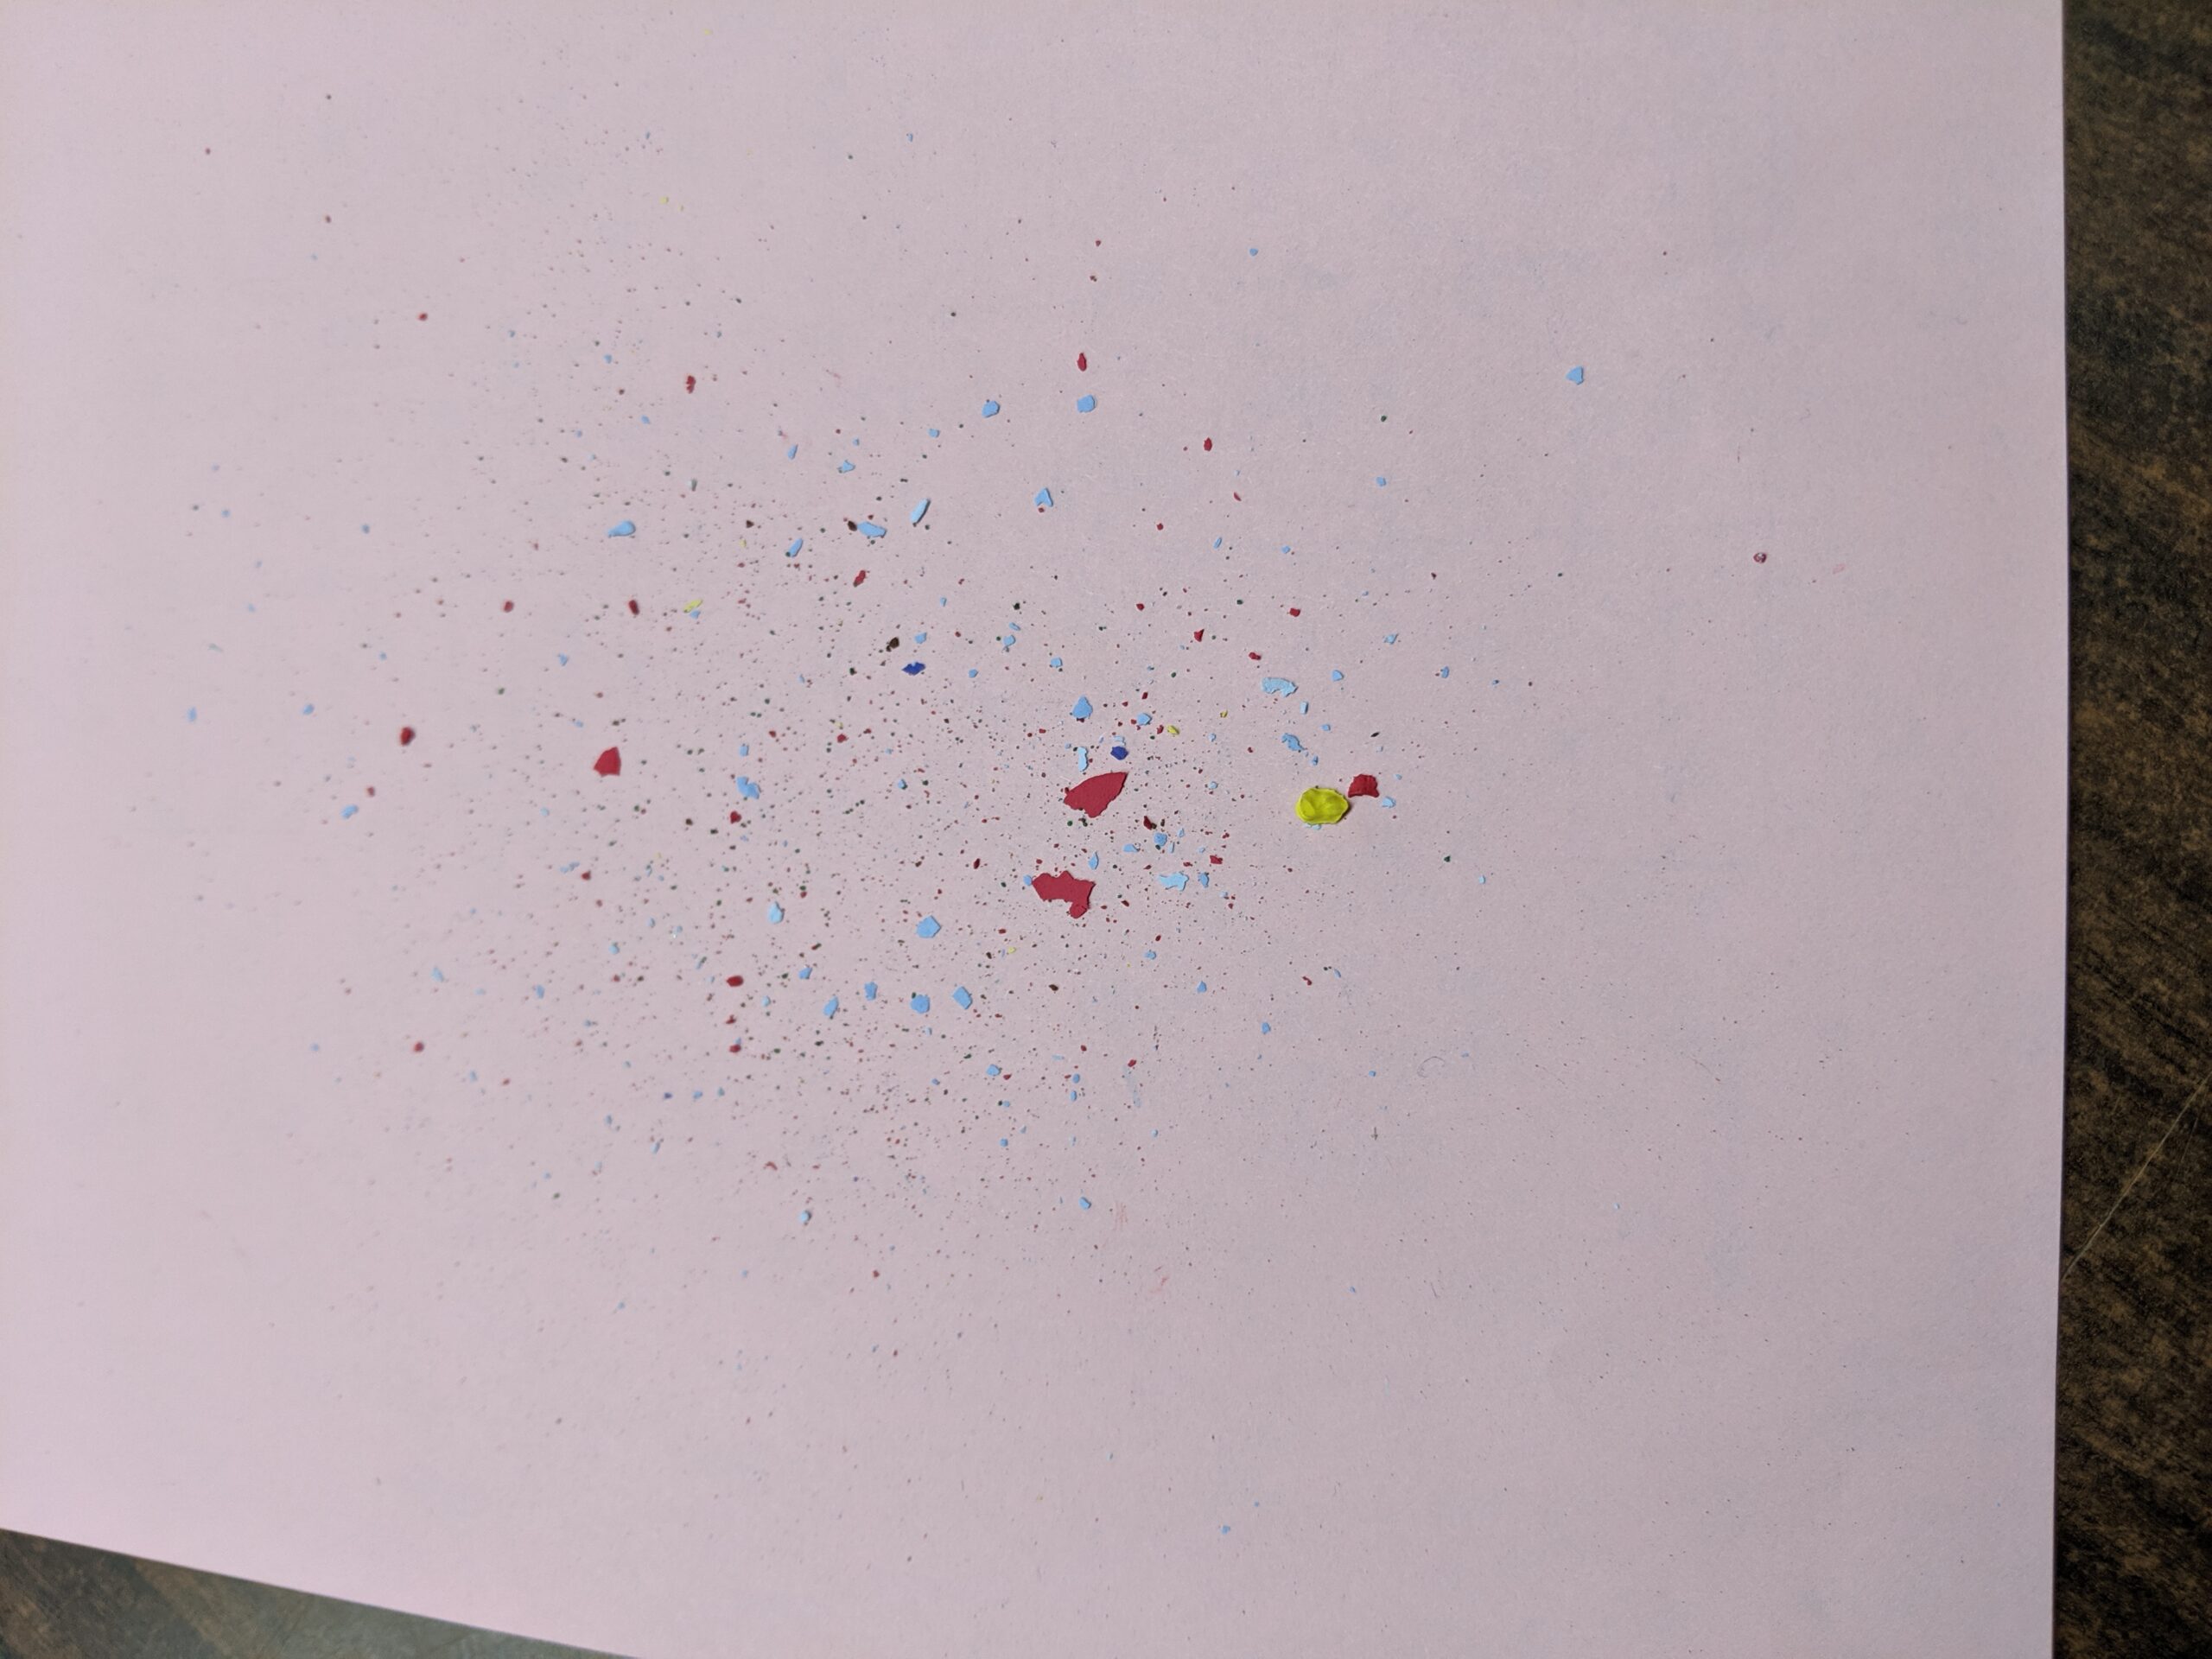
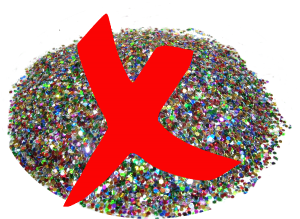
We understand that kids LOVE glitter and it can add a pretty sparkle to an art project.  However, when the artwork is scanned the glitter actually reflects the light and that fun sparkle is lost, which results in dark specs.

It also can get into our equipment, and that’s not so pretty either!  So we ask that you save the glitter and shine for another project.

This includes ALL types of glitter- sprinkled, crayons, markers, glue, paint, etc. 
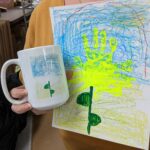
They may look shiny and bright on paper, but they simply do not reproduce with the same vivid brightness. Often the colors will appear dull and not true to color (ex.: pinks will look purple)
So, to avoid disappointment, we ask that you avoid the glow and shine and stay with more traditional colors for this project.

EXAMPLES:
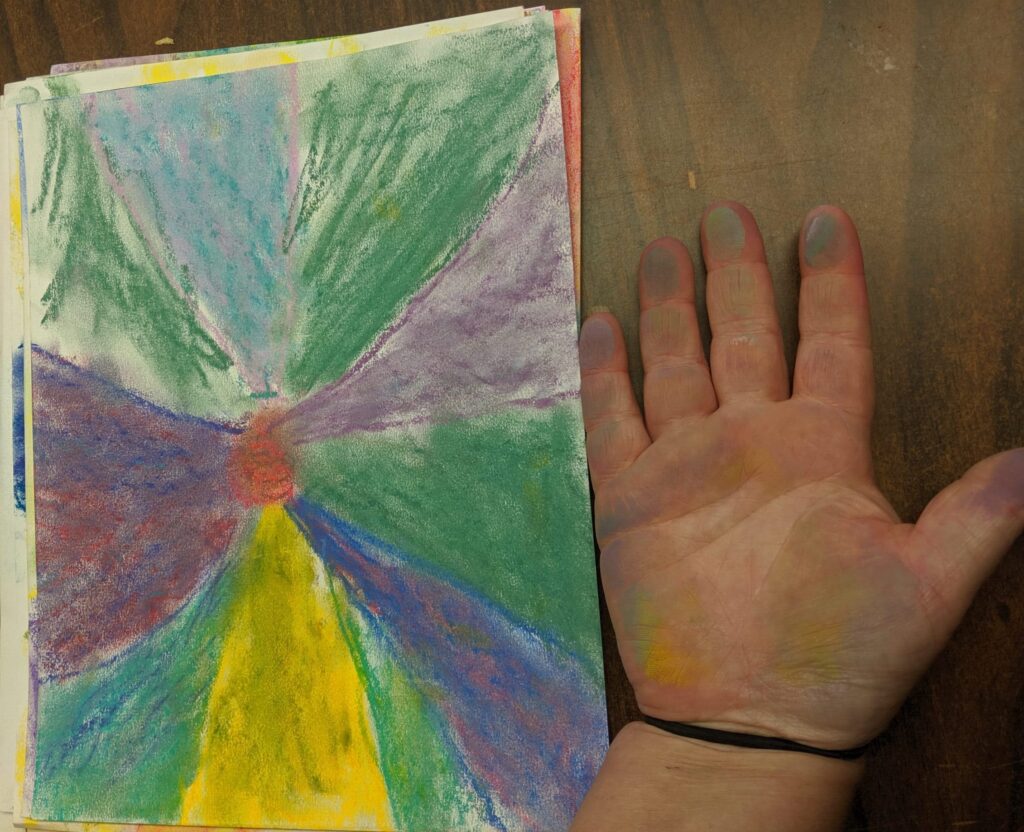
We are sure you know what a mess it can be working with pastels. Often in transit, they can smudge and stick together, and create an even bigger mess.

If you choose to use oil or chalk pastels, please do so with caution. They MUST be sprayed with a fixative such as Krylon #1311 Matte Fixative.

PRO TIP:  Rub your hand across the artwork. We will not process them if:

  • Color comes off or it feels sticky or scratchy
  • There is glitter or chalk

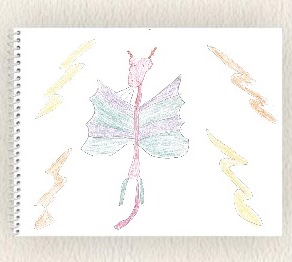
Short answer, no. If you are using colored pencils for your projects, be sure to press hard! If students color too lightly it can be hard to reproduce. 
Yes! Bright, bold colors look great. Just use caution and go easy on the amount of water used.

Please don’t add salt to the paint. The salt can be abrasive and scratch our equipment. It can also impact the appearance of the final products by casting lines on the image.

Glue is accepted as long as it is completely dry with no sharp peaks and there are no gobs that chip off. 

Abrasives are just that… abrasive. Sand, salt, globs of glue or paint. These can all create scratches on our equipment which will in turn appear on products.

A good way to check if you think paint could be too think, or something “scratchy” could be on it, is to lightly rub your hand over the artwork.  If paint is rough or flakes off, we will not process it.
OWY's Lesson Plans

Red O with sign saying Lesson Plans

Bring Creativity to Life 🎨

Need a little inspiration? Explore our collection of free lesson plans designed to help students create artwork they’ll be excited to turn into keepsakes. Each project includes step-by-step instructions, supply lists, teaching tips, and sample artwork to make planning easy—and fun!

Running short on time, we now have printable pages that you simply print and students can add their own personality to still making them unique.  And everyone loves handprint art- we have you covered there too! 

OWY's Video Guides

MORE COMING SOON!

Ready to learn more?

Request more information and get started today!