Quilting Bee Lesson Plan
This lesson plan utilizes recycled and/or reclaimed materials.
Teacher Input
Discuss and research recycling efforts in your community.
- What materials can be recycled?
- What materials does your community recycle?
Explore what would happen if no one recycled. View art created from recycled or reclaimed materials.
- Are there ways that the students can aid in the recycling effort?
- Discuss and implement any recycling that can be performed in the classroom. If possible, visit a recycling center in your community.
If you are working with younger students you may want to limit the project to a certain topic – a personal quilt block is a great idea and appeals to most age groups.
1) Once the students have decided on a theme/topic for their Quilting B project they should begin looking through the recycled materials for items or patterns that they wish to us in their artwork. Students should keep in mind the type of project that they working toward –
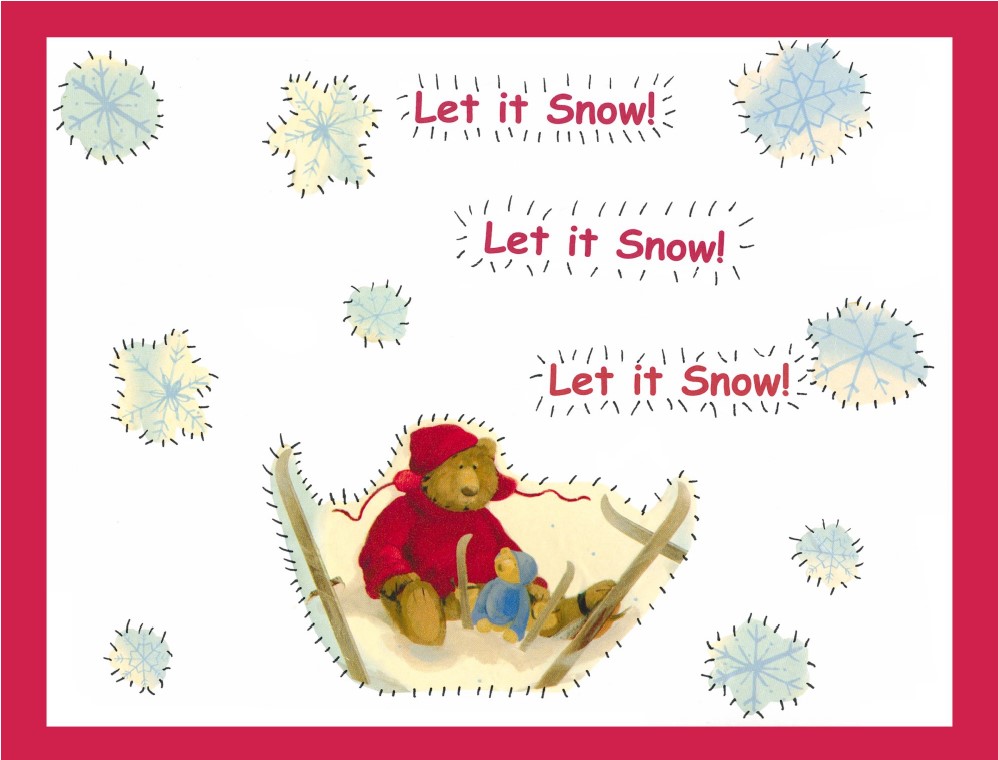
EXAMPLE: Use autumn landscape pictures for the background of a “pumpkin” or “fall leaves” and cut-outs from recycled wrapping paper for “skiing bears”. Remind the students that they are only limited by their imaginations.
2) Students should cut out the shapes and/or objects that they wish to use – keeping in mind the surface area that they have to use on their heavy white paper.
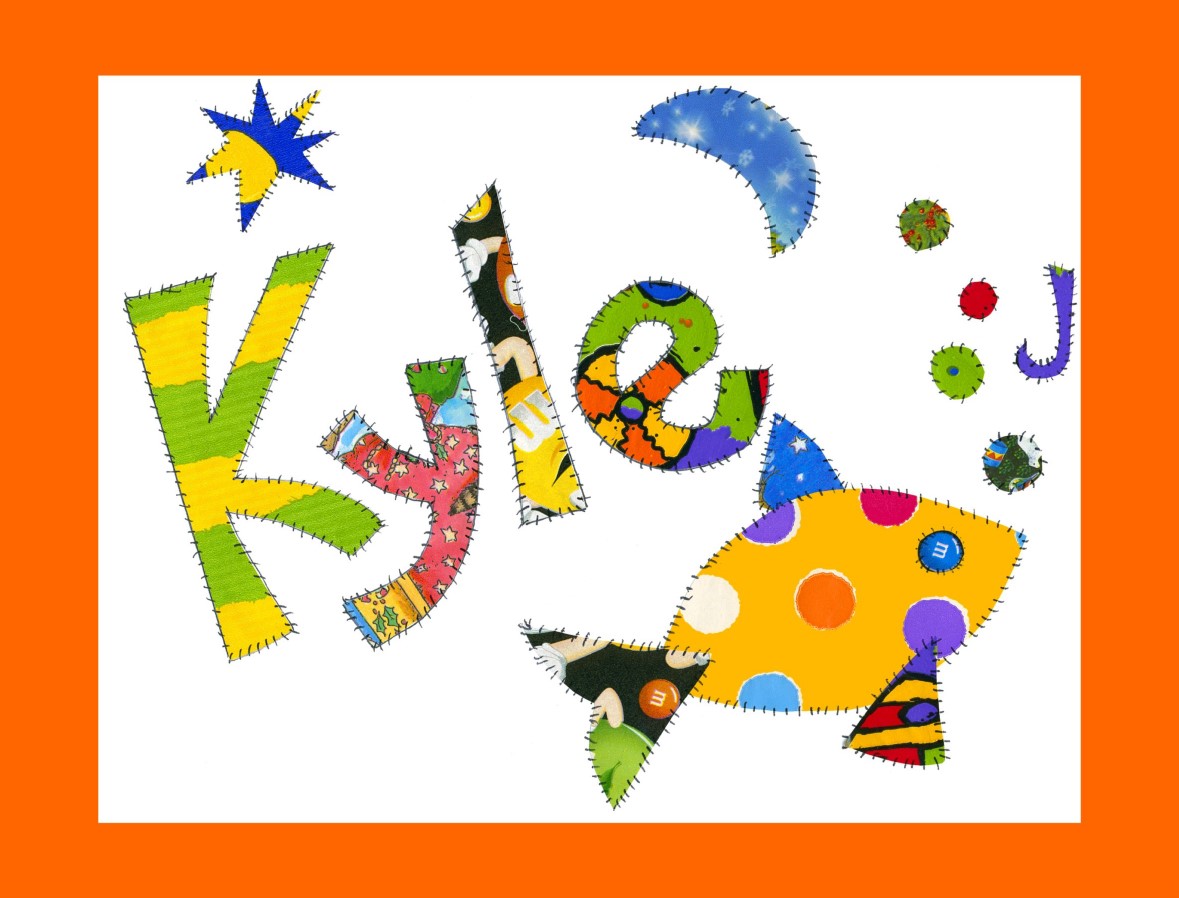
HINT: Stencils are a great tool for incorporating names into the quilt projects. Students should trace their stencil on the back of the pattern/picture that they wish to use so that their pencil lines will not be visible on their finished projects.
3) Lay out the chosen pieces onto the heavy white paper to ensure good placement before gluing. Once a pleasing layout has been achieved, students should firmly affix their pieces to the heavy white paper with glue. Be careful to gently wipe off any excess glue that may seep out from under the pieces.
4) Add any additional details needed with markers – such as lines on your “pumpkin” using a black marker.
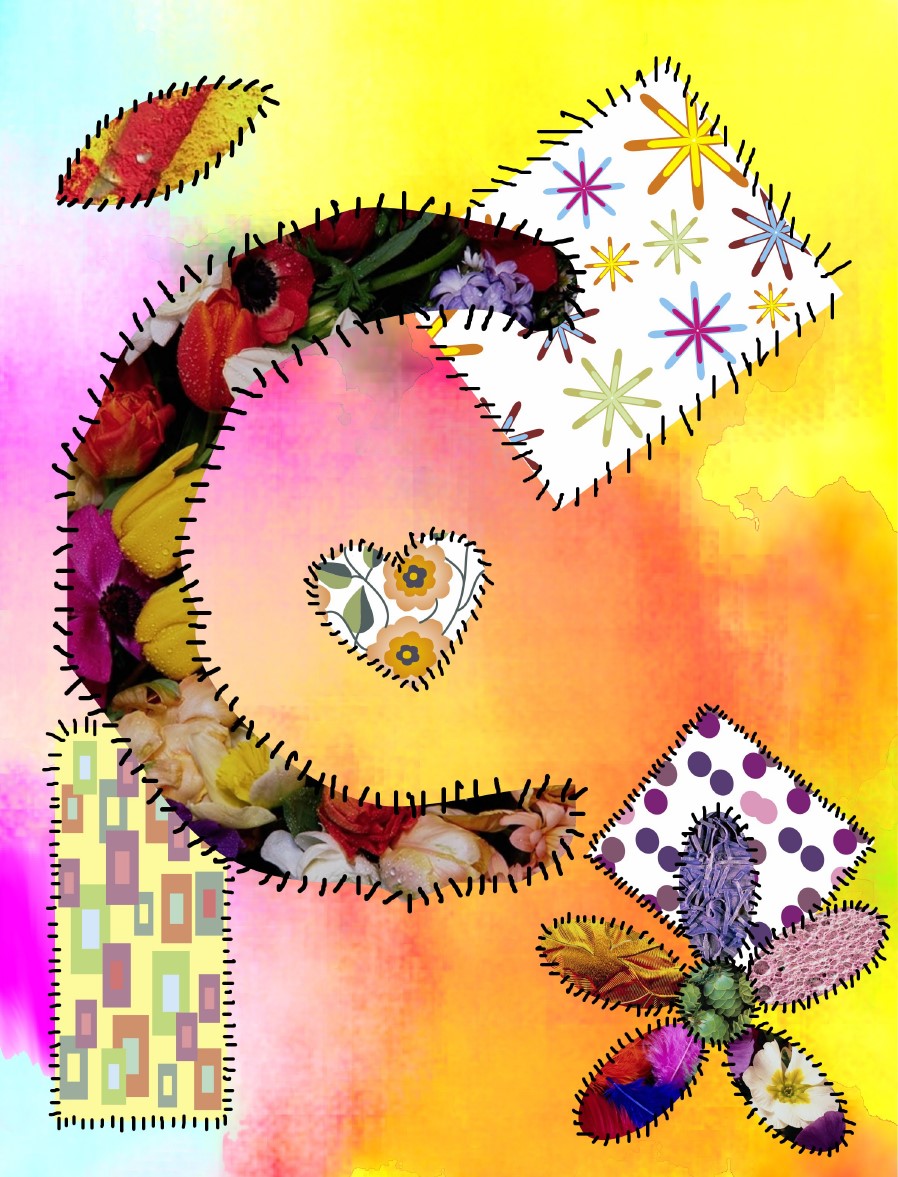
5) Adding stitch lines will turn this piece into a quilt design. Use small strokes on the edge of your pieces. Be sure that the “stitches” start a small way into your pieces and extend a small way off of your pieces. This will help to create some depth to your quilt artwork. A fine tip black marker is the perfect tool to use for the stitch lines. The more stitches the better.
6) You may also choose to add a border onto your quilt block artwork – try scraps of construction paper cut into broad strips and then firmly glued at the edge of your heavy white paper.
7) If your name is not incorporated into the quilt design, sign your name at least a 1” away from the paper edge in a dark or contrasting color. A nice touch would be to try and sign your name using “stitch” lines.
Grade Levels
adaptable to all ages
Materials
- 8.5″ x 11″ white art paper
- recycled magazines
- wrapping paper
- construction paper
- wallpaper samples
- recycled greeting cards
- glue or glue sticks
- fine tip black markers
- letter/shape stencils
- pencils
- examples of project